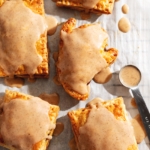
These pumpkin pop tarts are made with a flaky and crispy pie dough, with a spiced pumpkin filling, and a pumpkin spice icing on top. It's THE recipe for the Fall season and a great recipe if you're itching to use that can of pumpkin purée in your pantry.

Jump to:
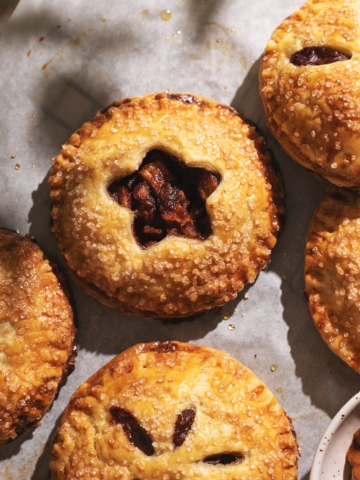
Pumpkin pop tarts, also known as pumpkin hand pies or mini pumpkin pies, are such yummy baked goods to make in the Fall season or around Thanksgiving. They take everything you love about pumpkin pie - the flaky pie crust and the spiced pumpkin filling - and packages it into small handheld pies.
You don't have to stop at the classic rectangular pop tart shape either. I went ahead and made a few ghost-shaped pies for Halloween. I would take these homemade pop tarts over the store-bought kind any day!
Why you'll love this recipe
- These pumpkin pop tarts are even better than the nostalgic store-bought pop tarts. Different, but also better!
- They're made with my go-to pie crust that is ultra crispy, flaky, and buttery.
- The simple pumpkin-brown sugar filling is so delicious and easy to make.
- You can make them, freeze them, and bake off a fresh pop tart whenever you want!
Tools
- Dough cutter (optional) - A dough cutter makes it easier to break the butter down into pea-sized pieces but it's completely optional. I actually prefer to use my fingers because I can control the sizes of the butter pieces better.
- Baking sheet - Any flat baking sheet or baking tray to bake your pop tarts on.
- Rolling pin - Any kind of rolling pin will do for rolling out the pie dough. I like simple wooden ones.
- Pastry wheel (optional) - This similar to a pizza wheel cutter and it makes cutting straight lines in the pie dough easier and quicker. You can absolutely use a knife instead if you don't have a pastry wheel.
- Pastry brush - This is for brushing egg wash on the pop tarts.

Ingredients
As always, the full recipe card with ingredient amounts and instructions is at the bottom of this post! Keep reading for more details on each ingredient or skip ahead to the recipe.
- All-purpose flour
- Salt
- Unsalted butter - Your butter should be cold, straight from the fridge and roughly cubed to make it easier to break them down into smaller pieces quickly.
- Ice cold water - Always keep your butter and dough cold. Adding ice water helps prevent the butter from warming up. You can either put a cup of water in the freezer for 5-10 minutes before using it (but don't let it turn to ice!) or stir water with a few ice cubes and measure out the ice water afterward (since some of the ice will have melted).
- Pumpkin purée - You can use canned pumpkin purée or homemade pumpkin puree if you have it on hand. I used canned pumpkin purée, not canned pumpkin pie filling.
- Brown sugar - Brown sugar adds to the spiced, caramelized, warming flavour that you want in your Fall baked goods.
- Pumpkin pie spice - You can use a pre-mixed spice blend sold as pumpkin pie spice or pumpkin spice or you can mix your own spice blend with ground cinnamon, ginger, nutmeg, cardamom, and cloves. See the recipe notes for the exact measurements.
- Egg - This is for the egg wash to make your pop tarts shiny and golden brown on top.
- Powdered sugar - You'll need this for the simple and easy pumpkin spice glaze on top of the pop tarts.
- Milk - Use any dairy or non-dairy milk. It doesn't matter which one you use for the icing. You could even use water but milk tastes better.
- Vanilla extract
How to make pumpkin pop tarts
For the pie dough
Cut butter into flour - In a large mixing bowl, stir together flour and salt. Add the cold butter cubes and toss to coat in the flour. Use a dough cutter or your hands to press the butter into pea-sized pieces.

Hydrate flour - Make a well in the middle of the flour-butter mixture. Pour in ice cold water and mix to saturate the flour until it forms a shaggy dough.

Fold dough - Dump the dough out onto a sheet of plastic wrap. Press the dough together with your hands and fold it over onto itself 2-3 times to make layers of butter but don't knead the dough.

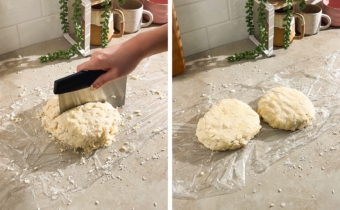
Chill dough - Use a bench scraper or knife to divide the dough in half. Press each half into a flattened disc shape and wrap them in plastic wrap. Chill the dough in the fridge for at least 2 hours or overnight.

For the pumpkin filling
Mix filling - In a medium bowl, stir together pumpkin puree, brown sugar, and pumpkin pie spice.

Prep - Preheat the oven to 350°F. Line a baking sheet with parchment paper. Set aside.
Roll out the dough - On a floured surface, roll out one disc of dough until about ⅛" thick, lifting and turning the dough occasionally to prevent it from sticking to the counter.
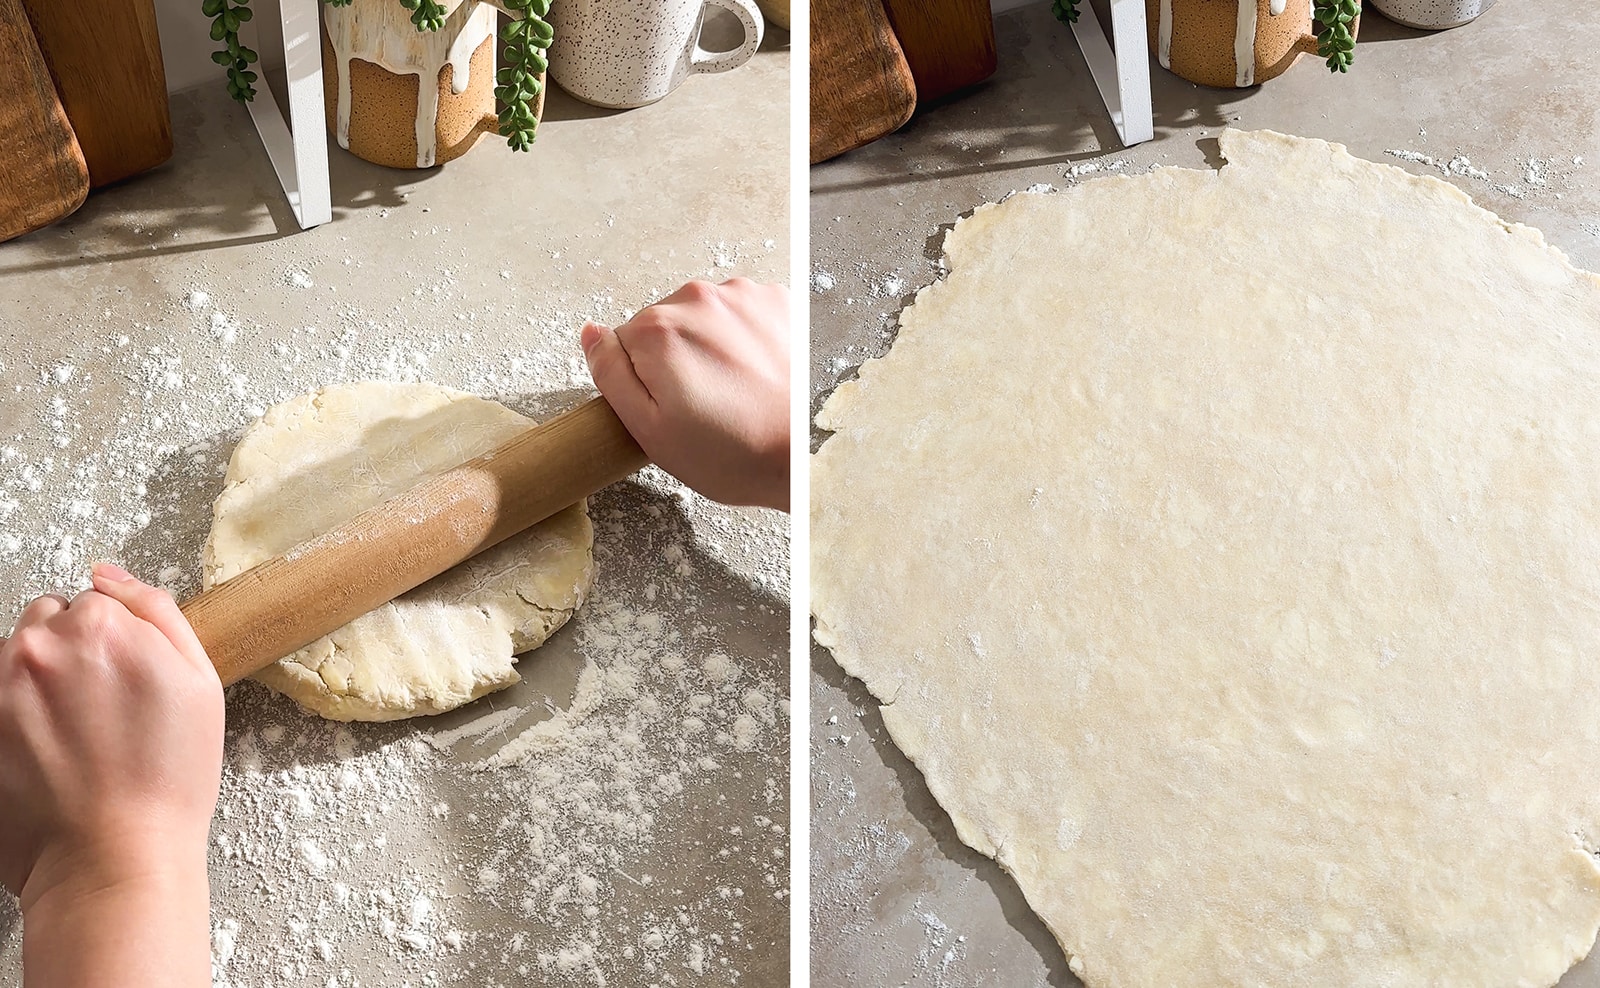
Cut shapes out - Use a knife or a pastry cutter to cut out rectangles that are roughly about 2.5"x3.5". For ghost shapes (or any other shapes), use a cookie cutter or trace a paper cutout with a knife. You'll need two matching pieces for every pop tart. Repeat with the other disc of dough. Press all the scraps together, re-roll, and repeat.

Transfer to baking sheet - Place one piece of dough cutout from each pair onto your lined baking sheet, leaving about 1-2" of space in between each one.

Add filling - Add about 2 tablespoonfuls of pumpkin filling to the middle of each piece of dough, leaving about ¾" of the edge empty.

Seal with top crust - Gently stretch the matching top piece of dough to make it slightly bigger and place it down on top of the filling. Use a floured fork to press down along the edges to seal.

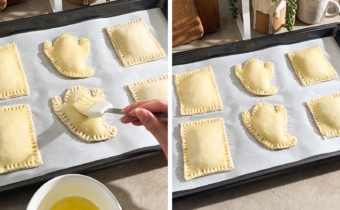
Apply egg wash - Brush a layer of beaten egg on top of the dough.

Bake - Bake pop tarts for about 40 minutes or until they're golden brown. Let them cool while you prepare the icing.
For the pumpkin spice icing
Mix - In a small bowl, stir together powdered sugar, pumpkin pie spice, milk, and vanilla extract. The consistency should be thick but pourable. If it's too thin, add a bit more powdered sugar. If it's too thick, add more milk.

Glaze pop tarts - Drizzle a spoonful of icing on top of each pumpkin pop tart and spread it around to cover the surface.

Storage
These pumpkin pop tarts are best eaten on the same day they are baked for the best crispy and flaky texture.
Leftovers can be stored in an airtight container or wrapped in plastic wrap at room temperature for up to 2 days or in the fridge for up to 5 days.
Serve at room temperature or reheat them in a toaster oven.
Freezing
You can freeze the pie dough by wrapping it in plastic wrap and freezing for up to 1 month. Thaw it in the fridge overnight before rolling it out.
You can also freeze the assembled but unbaked pop tarts so that you can bake them off whenever you want a fresh pie! Place them on a baking sheet and put the entire baking sheet in the freezer for about 30 minutes until they're firm to the touch. Transfer them to a freezer bag or airtight container and freeze them for up to 1 month.
Thaw them in the fridge overnight before baking at the instructed temperature and time.

Tips for success
- Always keep the butter and pie dough cold. Layers of cold butter are the key to flaky and crispy pie crusts. Any time you feel like the dough has warmed up too much put it back in the fridge for 15 minutes before continuing working with it.
- Don't overwork the pie dough. This pie dough doesn't need to be kneaded like bread dough. You only want to fold it onto itself a few times to create layers of butter in between the flour and to help any floury patches stick together. Overworked dough will become tough and gummy after baking.
- Roll the dough out very thinly. It should be about ⅛" thick or even slightly thinner if possible. This pie dough puffs up and expands quite a bit during baking. If the dough is too thick, it will become hard and tough after baking.
- Don't overstuff the pop tarts. If the filling squirts out the sides of the pop tarts when you're crimping the edges with a fork, there's probably a bit too much filling. It's not a big deal but it will likely leak out during baking as well.
Frequently asked questions
Yes, you can. Homemade is better, trust me, but you can definitely use store-bought frozen pie dough to make this recipe quick and easy.
Pumpkin pie filling has a bunch of other ingredients including sugar added to it whereas pumpkin purée is unsweetened and should just be puréed pumpkin. You can customize the flavour and consistency when using pumpkin purée. In theory, you could use pumpkin pie filling but you would omit the sugar and spices in this recipe. It should work fine but it'll be a different flavour than what was intended here.
More pumpkin recipes to try
- Pumpkin Crème Brûlée
- Pumpkin Madeleines
- Pumpkin Crème Brûlée Tart
- Pumpkin Pie Ice Cream
- Pumpkin Swiss Roll
Recipe

Pumpkin Pop Tarts
Equipment
- 1 dough cutter, optional
- 1 pastry wheel, optional
Ingredients
Pie Dough
- 340 g all-purpose flour
- 1 teaspoon salt
- 230 g unsalted butter, cold & cubed
- 140 g ice cold water
Filling
- 200 g canned pumpkin purée
- 100 g brown sugar
- ½ teaspoon pumpkin pie spice, see notes to make your own spice mix
- ½ teaspoon vanilla extract
Egg Wash
- 1 egg, beaten
Icing
- 100 g powdered sugar
- ½ teaspoon pumpkin pie spice
- 2 ½ teaspoons milk
- 2 teaspoons vanilla extract
Instructions
Pie Dough
- Cut butter into flour: In a large mixing bowl, stir together flour and salt. Add the cold butter cubes and toss to coat in the flour. Use a dough cutter or your hands to press the butter into pea-sized pieces.
- Hydrate flour: Make a well in the middle of the flour-butter mixture. Pour in ice cold water and mix to saturate the flour until it forms a shaggy dough.
- Fold dough: Dump the dough out onto a sheet of plastic wrap. Press the dough together with your hands and fold it over onto itself 2-3 times to make layers of butter but don't knead the dough.
- Chill dough: Use a bench scraper or knife to divide the dough in half. Press each half into a flattened disc shape and wrap them in plastic wrap. Chill the dough in the fridge for at least 2 hours or overnight.
Filling
- Mix filling: In a medium bowl, stir together pumpkin purée, brown sugar, and pumpkin pie spice.
- Prep: Preheat the oven to 350°F. Line a baking sheet with parchment paper. Set aside.
- Roll out the dough: On a floured surface, roll out one disc of dough until about ⅛" thick, lifting and turning the dough occasionally to prevent it from sticking to the counter.
- Cut shapes out: Use a knife or a pastry wheel to cut out rectangles that are roughly about 2.5"x3.5". For ghost shapes (or any other shapes), use a cookie cutter or trace a paper cutout with a knife. You'll need two matching pieces for every pop tart. Repeat with the other disc of dough. Press all the scraps together, re-roll, and repeat.
- Transfer to baking sheet: Place one piece of dough cutout from each pair onto your lined baking sheet, leaving about 1-2" of space in between each one.
- Add filling: Add about 2 tablespoonfuls of pumpkin filling to the middle of each piece of dough, leaving about ¾" of the edge empty.
- Seal with top crust: Gently stretch the matching top piece of dough to make it slightly bigger and place it down on top of the filling. Use a floured fork to press down along the edges to seal.
- Apply egg wash: Brush a layer of beaten egg on top of the dough.
- Bake: Bake pop tarts for about 40 minutes or until they're golden brown. Let them cool while you prepare the icing.
Icing
- Mix: In a small bowl, stir together powdered sugar, pumpkin pie spice, milk, and vanilla extract. The consistency should be thick but pourable. If it's too thin, add a bit more powdered sugar. If it's too thick, add more milk.
- Glaze pop tarts: Drizzle a spoonful of icing on top of each pumpkin pop tart and spread it around to cover the surface.
Notes
- Note 1: Pumpkin pie spice: You can use store-bought pumpkin pie spice mix or make your own. To make your own, stir together:
- 1 teaspoon ground cinnamon
- ½ teaspoon ground ginger
- ½ teaspoon ground nutmeg
- ¼ teaspoon ground cardamom
- ¼ teaspoon ground cloves
- Use what you need from this mixture and save the rest for other recipes!
- Note 2: Dividing the dough: In step 4, I divide the pie dough in half. This is because it's easier to roll out half the dough at a time if you have limited counter space and you'll be able to work with it faster before it gets too warm. If this is not an issue, you can just keep it as one disc of dough instead of splitting it!









Leave a comment or review