
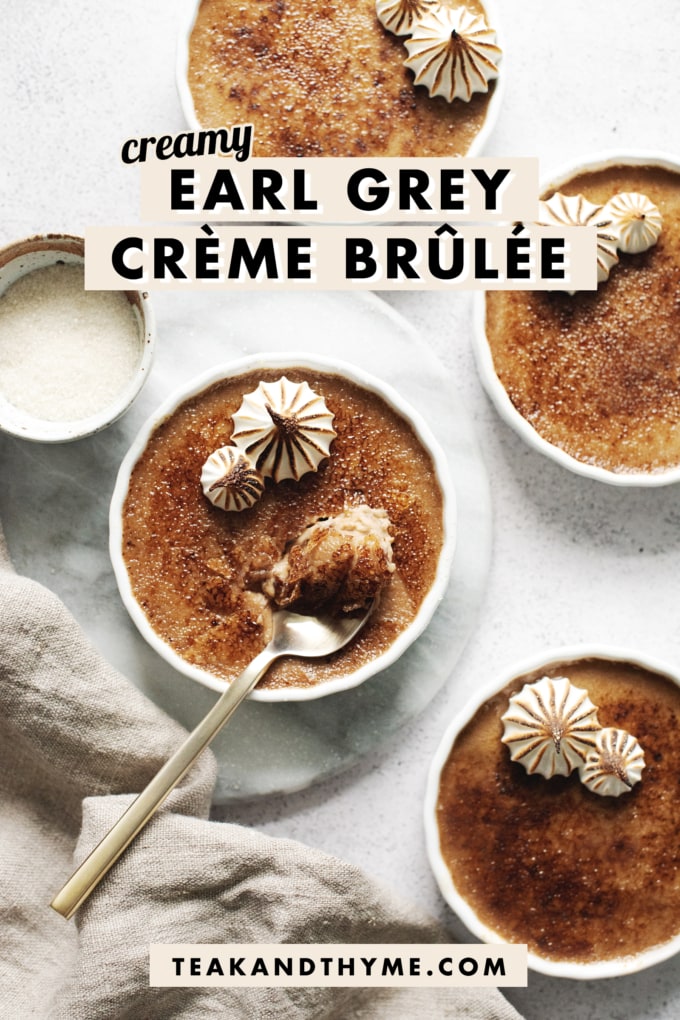
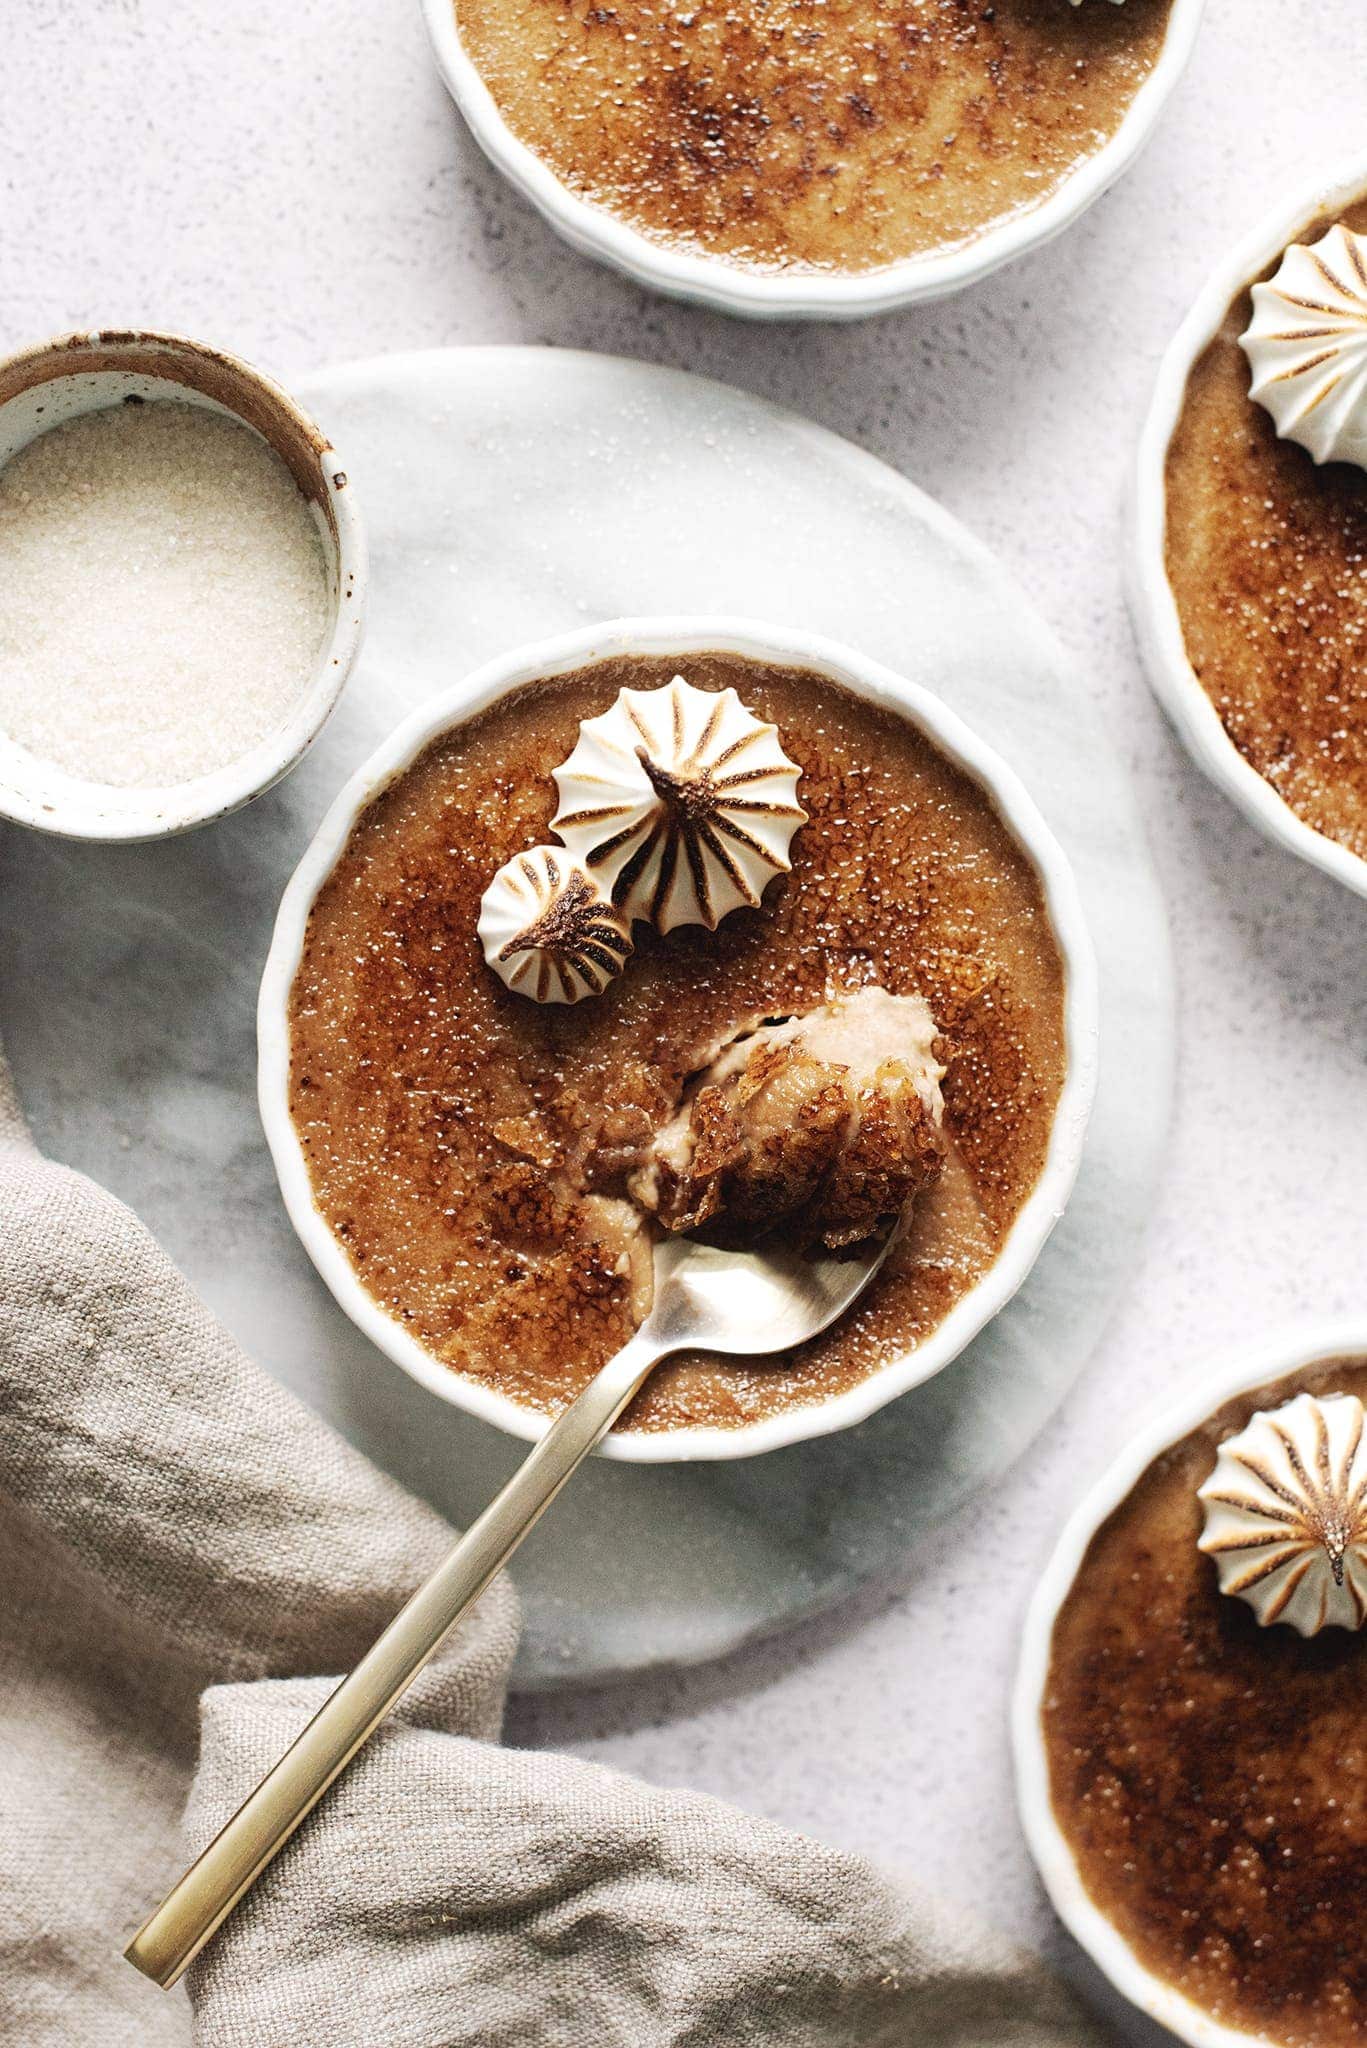
This earl grey crème brûlée features a fragrant and creamy earl grey infused custard under a layer of crunchy caramelized sugar.
I've been dreaming of this dessert for so long and it's everything I thought it would be after finally making it. The creamy custard layer is infused with fragrant earl grey tea, making it a deep bergamot flavour. The fun part is the quintessential hard, glassy top made by caramelizing sugar that cracks into crunchy shards when struck with a spoon. This combination of textures is what makes crème brûlée sooo good.
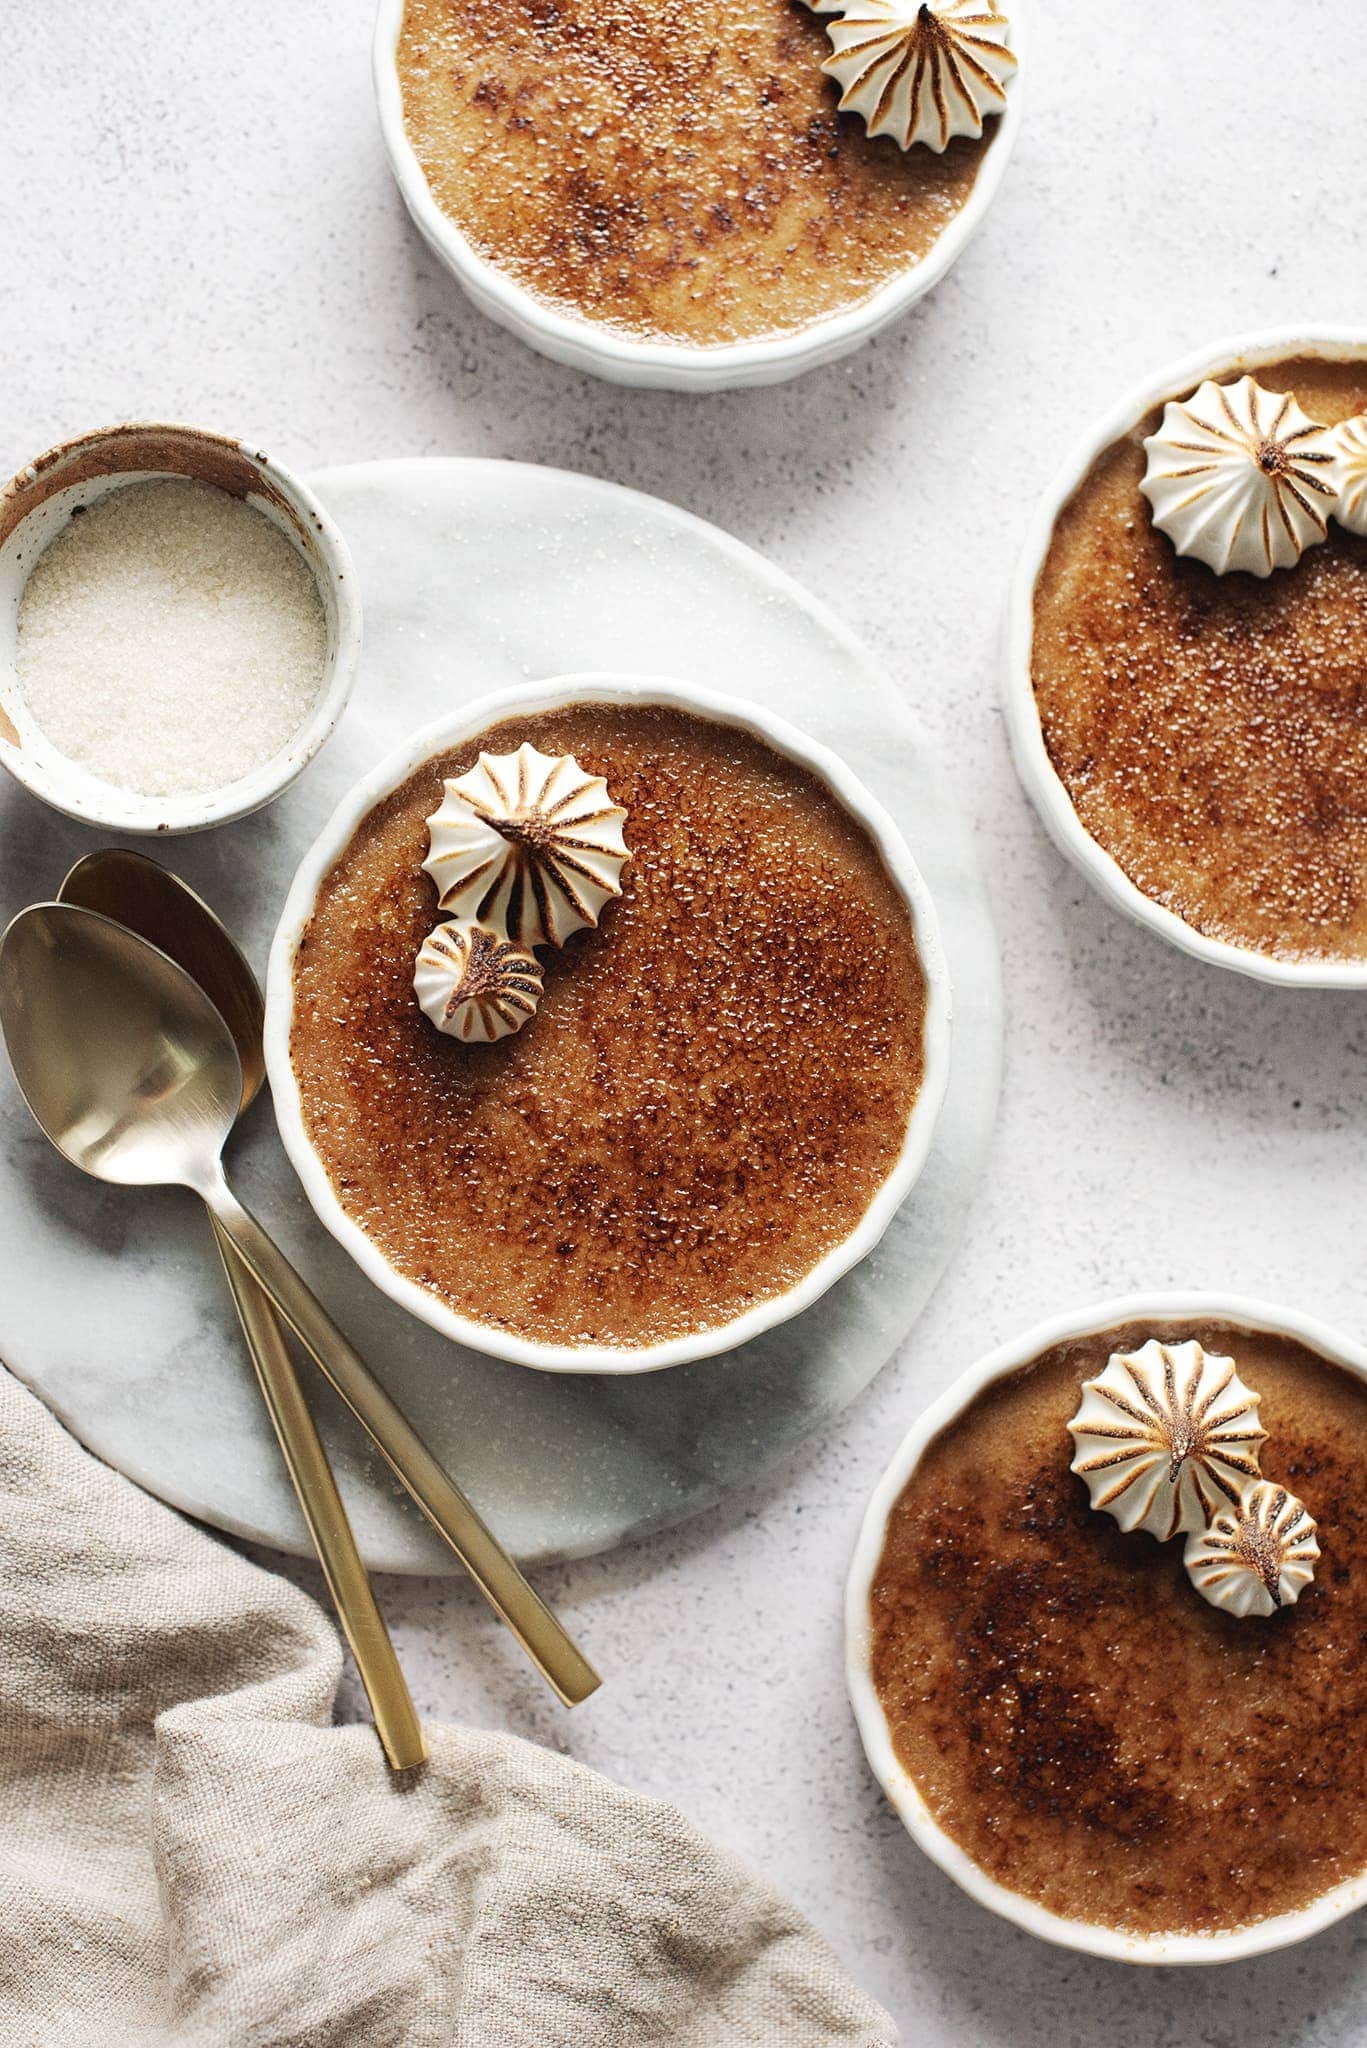
Crème brûlée is surprisingly easy to make with only a few ingredients. It's a great dessert to make ahead a couple of days in advance and you can still wow your guests right before serving when you whip out your blowtorch to make the sugar topping.
How to make earl grey crème brûlée
Infuse with earl grey: In a small pot, bring the heavy whipping cream to a simmer. Once small bubbles start forming at the surface, stir in the tea bags, cover, and steep for 5 minutes. After steeping, press the tea bags against the side of the pot or against a spoon to squeeze out all the tea-infused cream inside before discarding. Stir in the vanilla extract and salt.
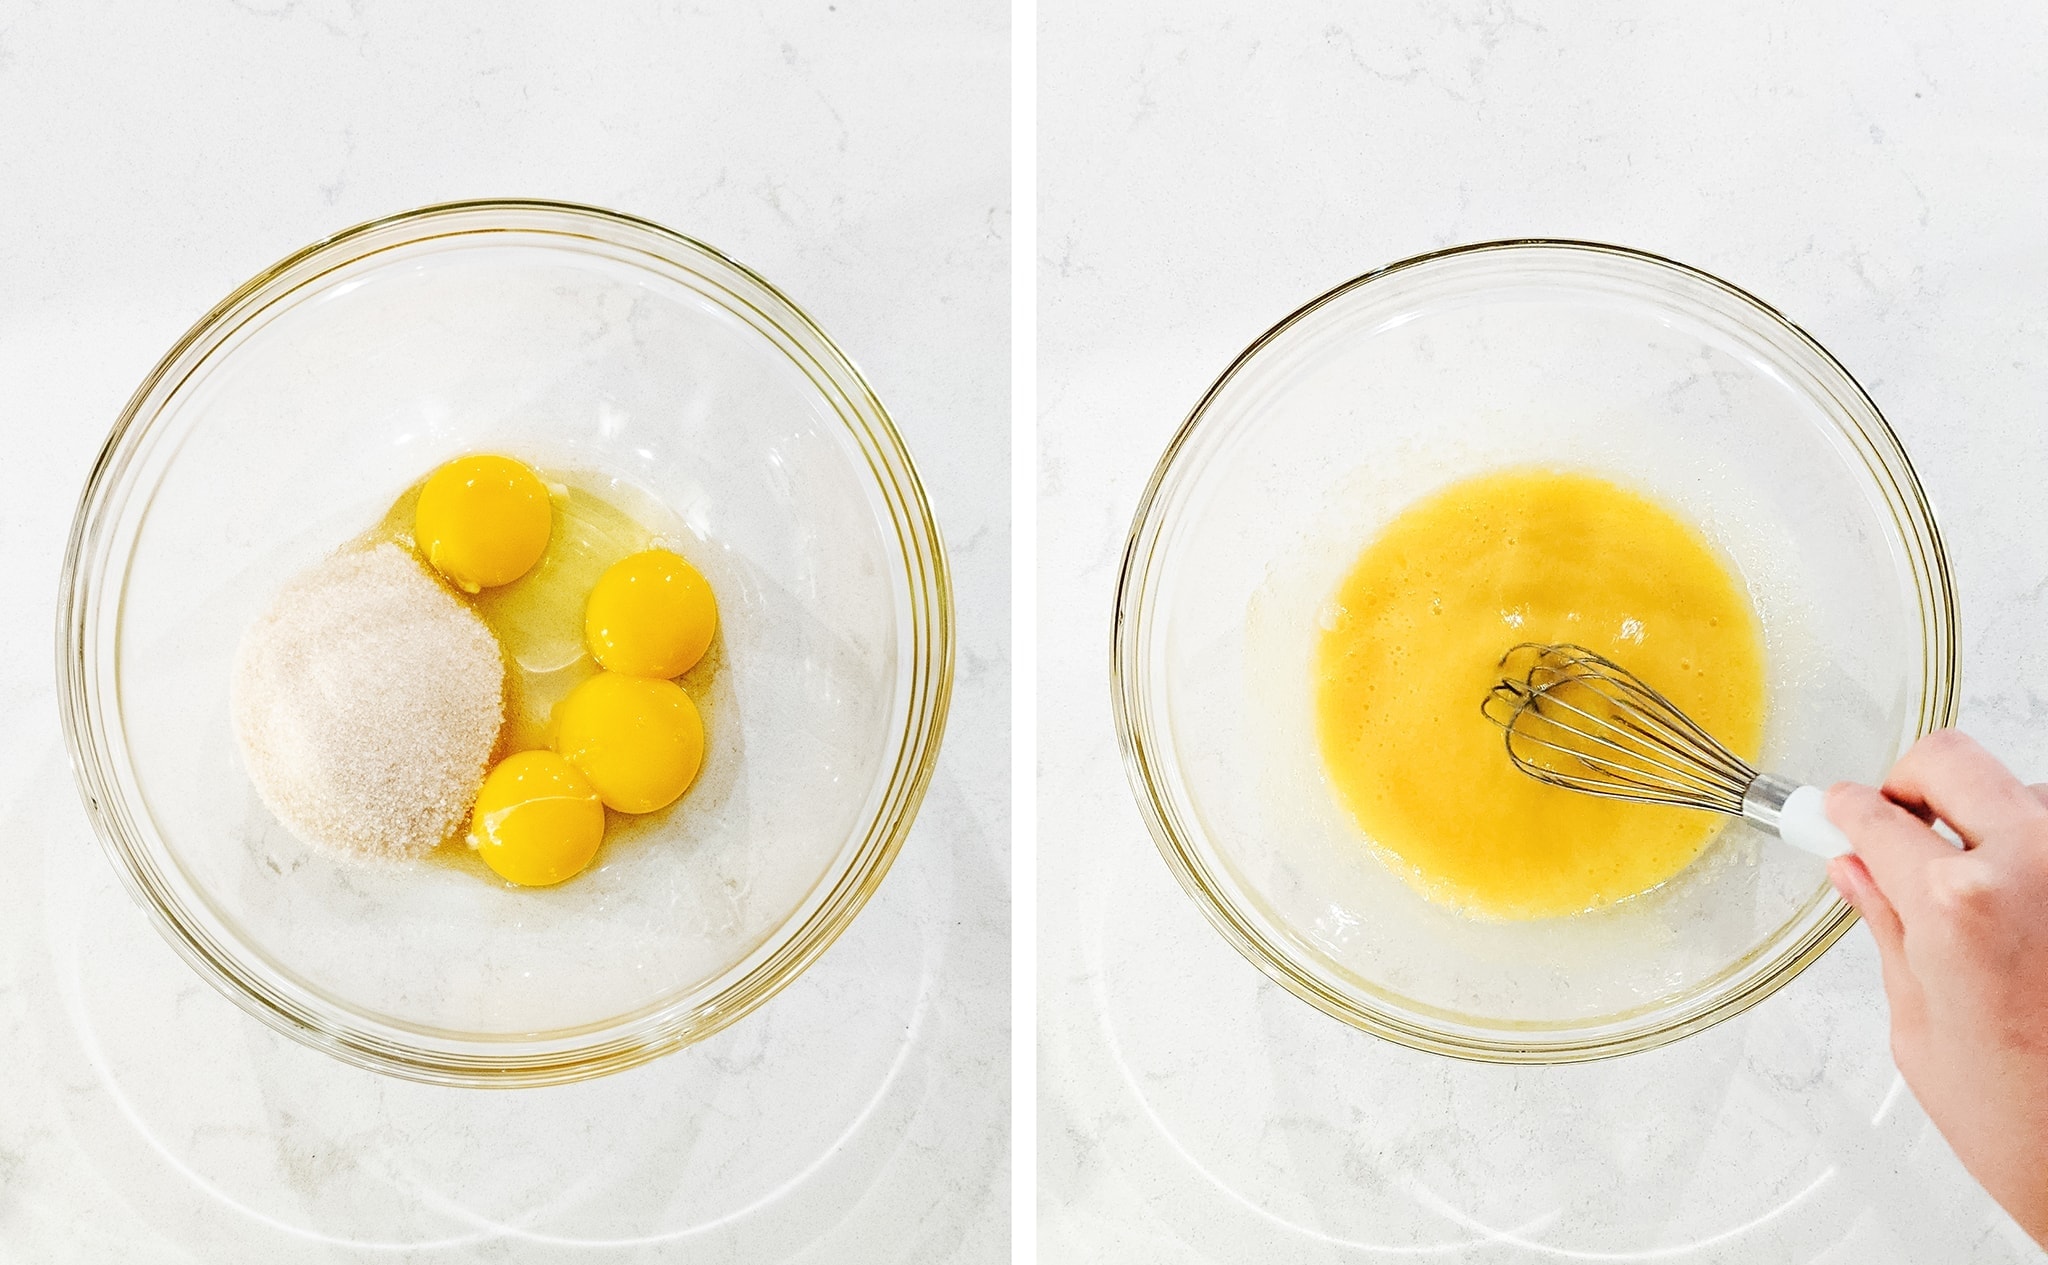
Mix the eggs: In a large mixing bowl, whisk together the eggs and sugar until creamy.
Temper the eggs: With one hand constantly whisking vigorously, slowly stream in the earl grey cream into the eggs with your other hand. Don't stop whisking until you've poured all the cream in of you'll end up with scrambled eggs.
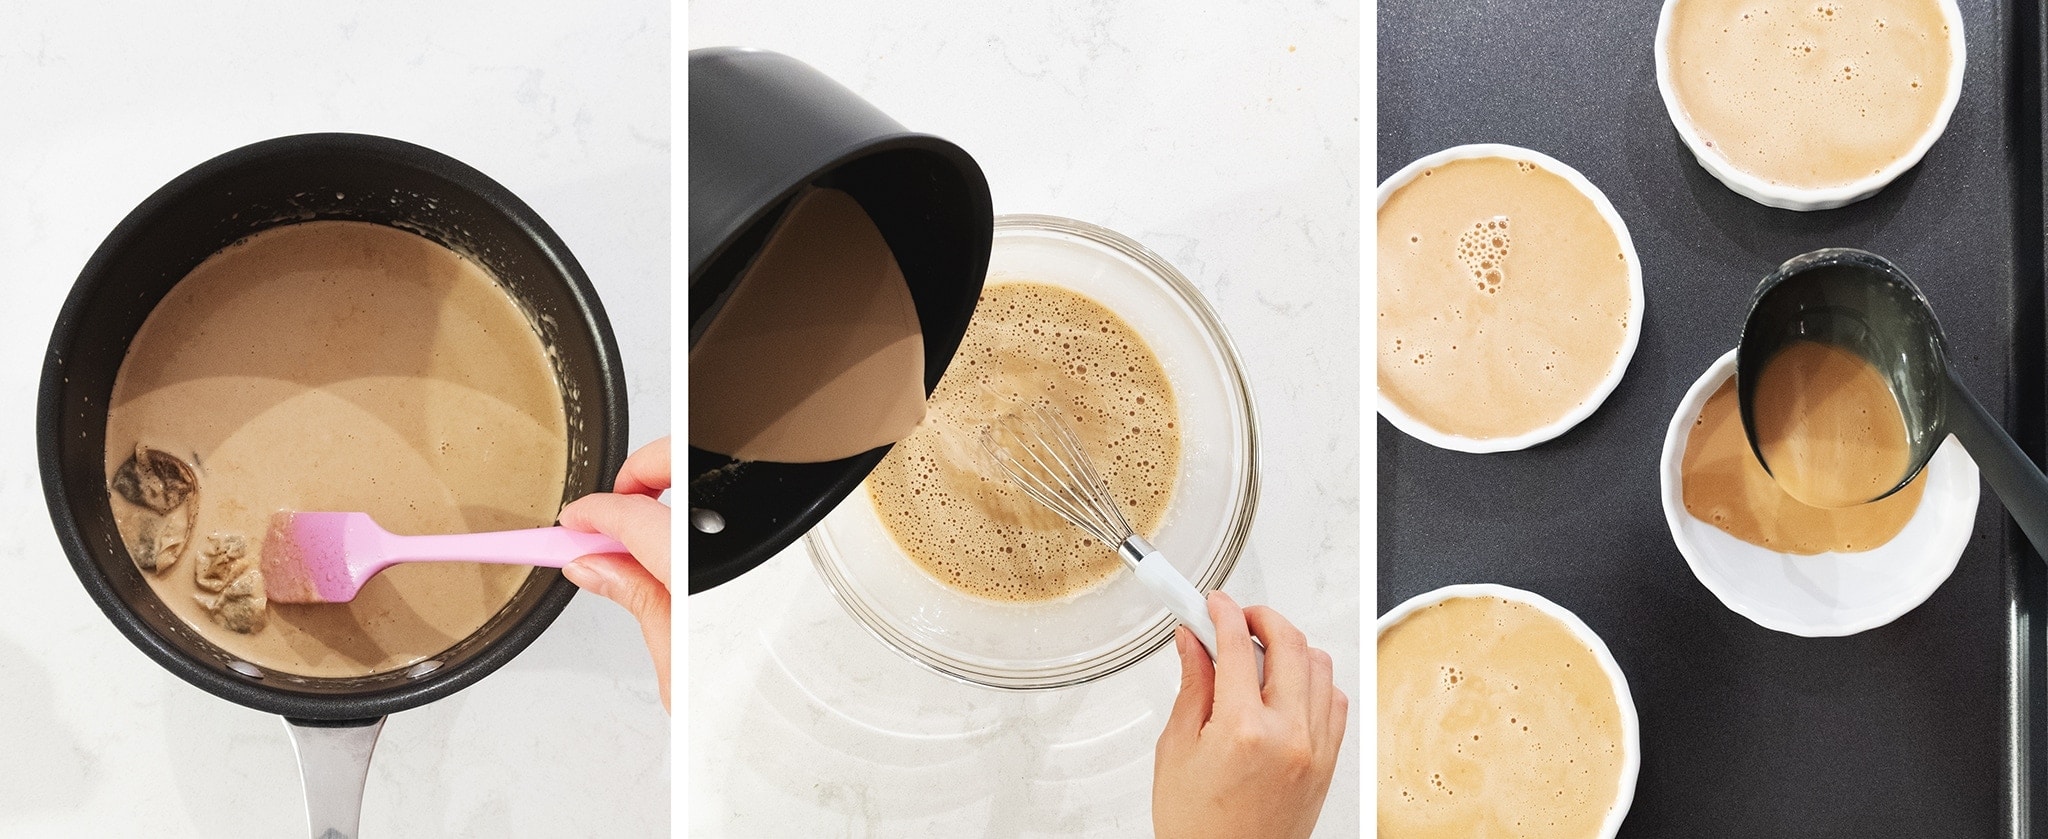
Bake the custard: Fill your ceramic ramekins with this mixture. Dab a paper towel on any air bubbles on the surface to remove them. Place ramekins on a baking tray and place tray in the oven. Fill the tray with about ½" of hot water. Bake at 325F for 30-35 minutes until the edges are set but middle is still jiggly or until the internal temperature of the crème brûlée reaches 170F.
Let cool completely before covering and chilling in the fridge for at least 4 hours or overnight to allow the custard to set.
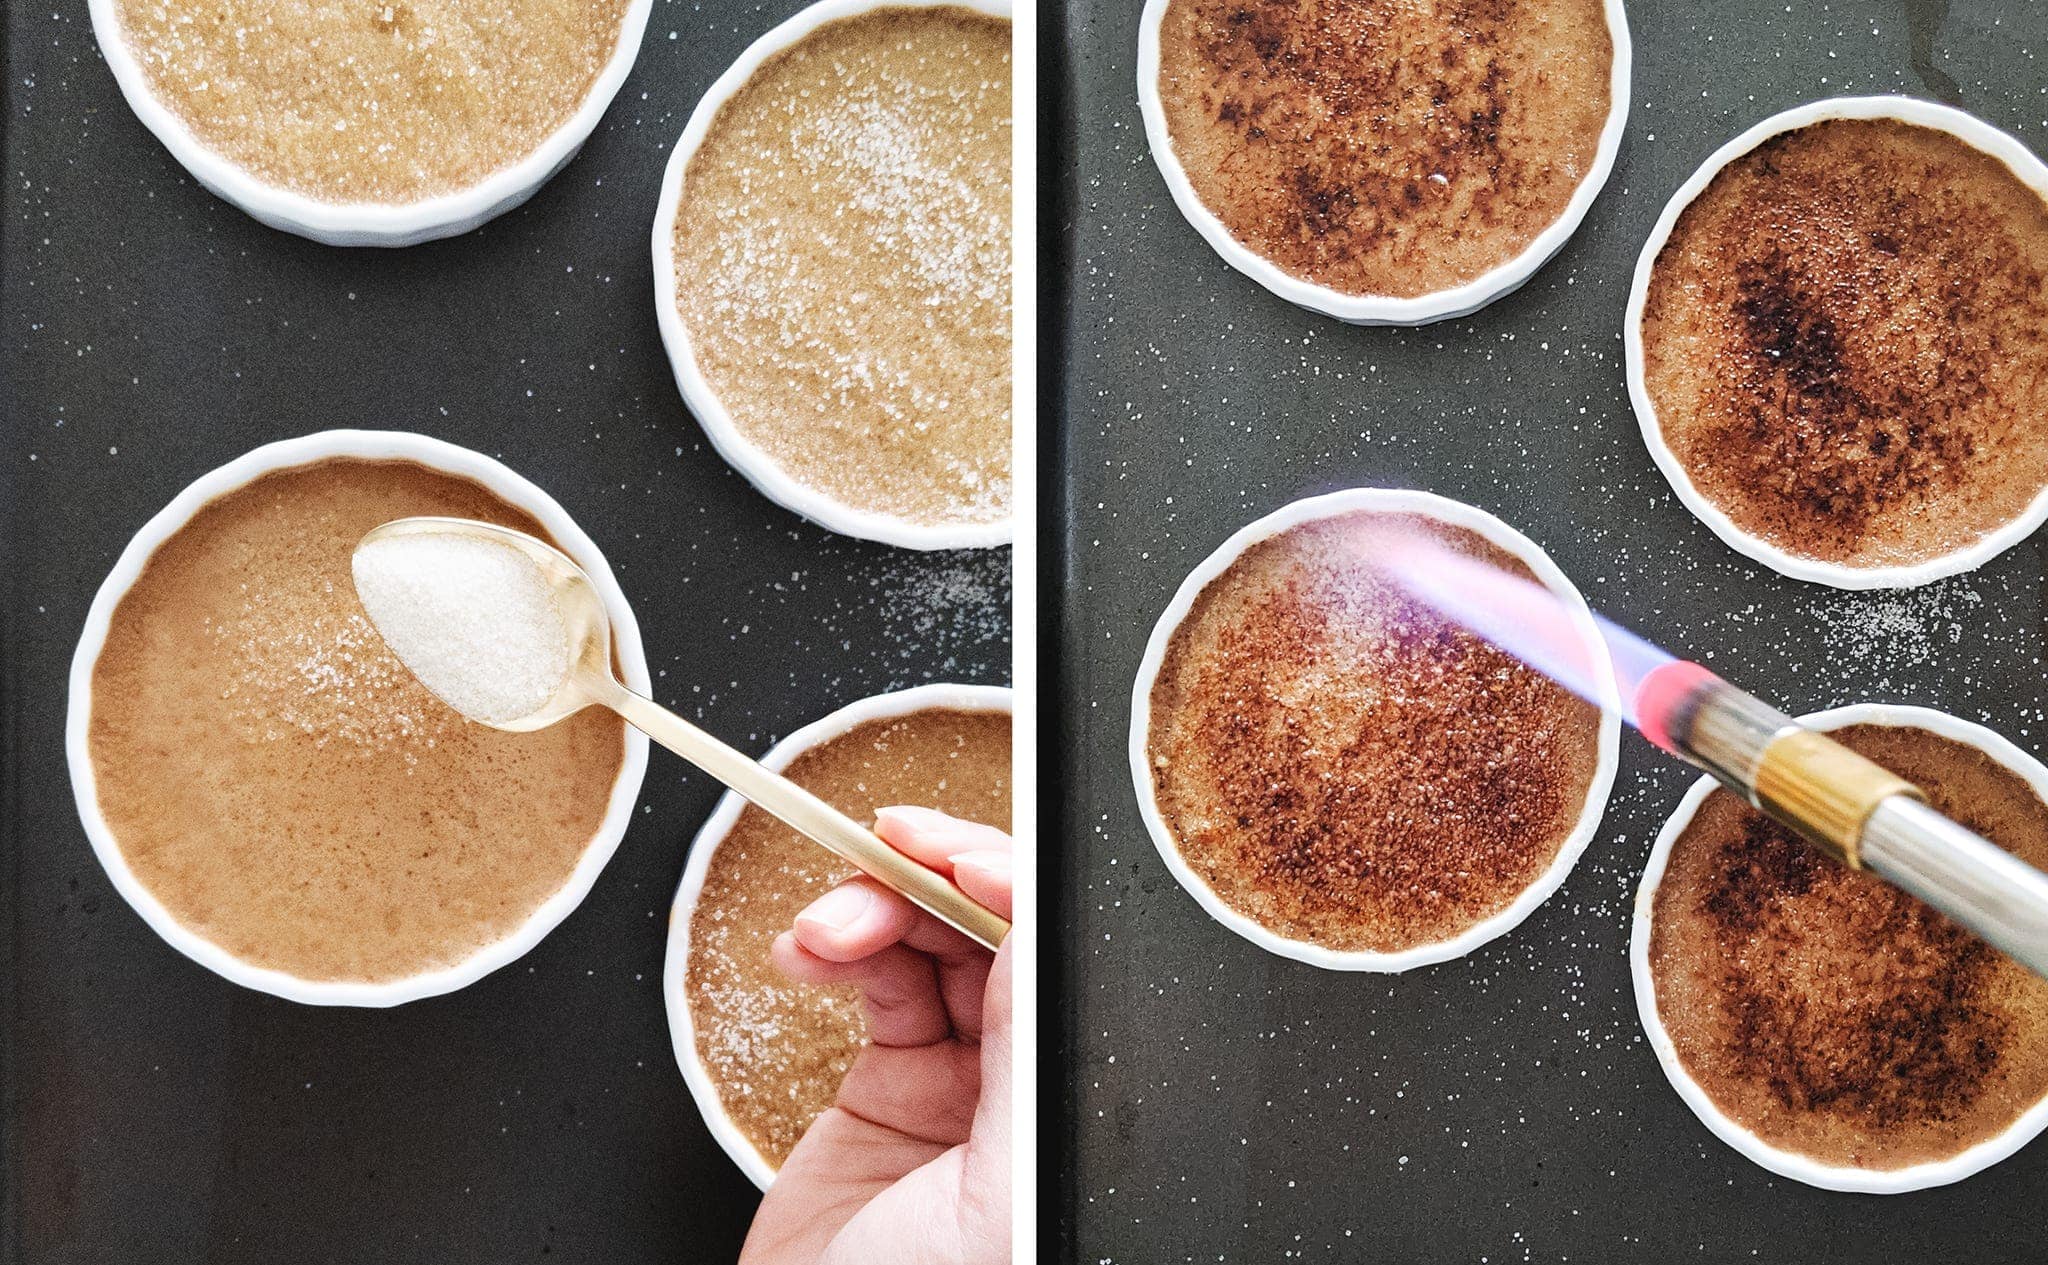
Caramelize the sugar: Right before serving, sprinkle a generous, even layer of sugar on the surface of each crème brûlée. Use a kitchen torch to caramelize the sugar. Keep the flame moving across the surface, without staying in the same spot for too long. Let cool for a few minutes until the sugar has hardened. Enjoy right away or within 1 hour.
Tips for making the best earl grey crème brûlée
- Constantly and vigorously whisk while tempering eggs and pour the cream in very slowly. This is super important so that you don't end up with scrambled eggs.
- Don't overbake the custard. When overbaked, the custard will still taste delicious but it will be firm and won't have that luscious, creamy texture that you're aiming for. Keep checking on it as it gets close to being done. Shake the pan - the edges should be set but the middle should still be jiggly.
- Chill the custard overnight or for at least 4 hours. The custard needs to set in the fridge after baking to achieve that creamy texture. If you need them to set faster, you can put them in the freezer but do not let them freeze.
- Sprinkle a generous, even layer of sugar on top of each crème brûlée to ensure you get that perfect shatter with a thick sugar layer. Don't leave any of the custard exposed.
- Keep the blowtorch moving around across the surface and don't stay in the same spot for too long to get an even caramelization.
- Enjoy your crème brûlée right after torching or within the hour. The sugar layer will soften after too long.
How to store crème brûlée
The custard by itself can be made ahead, covered, and stored in the fridge for up to 3 days. Only add the sugar topping and caramelize it right before serving. Do not store with the sugar sprinkled on top already.
Crème brûlée that already has the torched sugar topping does not store well. The sugar topping will become soft and liquidy if you return it to the fridge after a couple of hours.
Crème brûlée with or without the crunchy top should not be frozen as it will change the texture. It's quick to make and keeps well in the fridge for a few days so there's really no need to freeze it anyway.
Other earl grey recipes to try
Recipe
Earl Grey Crème Brûlée
Ingredients
- 480 ml heavy whipping cream
- 4 earl grey tea bags
- 1 teaspoon vanilla extract
- ¼ teaspoon salt
- 3 large egg yolks
- 1 large whole egg
- 100 g granulated sugar + 50g for topping, divided
Instructions
- Preheat oven to 325°F.
- In a small pot, bring the heavy whipping cream to a simmer. Once small bubbles start forming at the surface, stir in the tea bags, cover, and steep for 5 minutes. After steeping, press the tea bags against the side of the pot or against a spoon to squeeze out all the tea-infused cream inside before discarding. Stir in the vanilla extract and salt.
- In a large mixing bowl, whisk together the eggs and sugar until creamy.
- With one hand constantly whisking vigorously, slowly stream in the earl grey cream into the eggs with your other hand to temper the eggs.
- Fill your ceramic ramekins with this mixture. Dab a paper towel on any air bubbles on the surface to remove them. Place ramekins on a baking tray and place tray in the oven. Fill the tray with about ½" of hot water. Bake for 30-35 minutes until the edges are set but middle is still jiggly or until the internal temperature of the crème brûlée reaches 170°F.
- Let cool completely before covering and chilling in the fridge for at least 4 hours or overnight to allow the custard to set.
- Right before serving, sprinkle a generous, even layer of sugar on the surface of each crème brûlée. Use a kitchen torch to caramelize the sugar. Keep the flame moving across the surface, without staying in the same spot for too long. Let cool for a few minutes until the sugar has hardened. Enjoy right away or within 1 hour.


Anna says
Hi! Quick question. At what point do you turn off the heat on the stove? Do you leave it on while the tea bags steep? Do turn it off after tempering the eggs? Excited to try this!
Mac says
This came out PERFECTLY! The double batch (2x) filled 6 taller ramekins (I don't own the traditional crème brûlé shallow ones). I ended up filling the water bath in a pyrex to cover the full height of the custard. I think the larger fill and extra water bath height ended up making the bake take a wee bit longer (it took me about 45/50 min in the oven to get to the right jiggly consistency & temp) but it cooked perfectly. Loved this and will certainly make again! Thank you for sharing 🙂
Hannah says
I loved this. I was unsure if I did things correctly and even thought it wasnt going to turn out, but it was delicious. I used loose leaf tea and strained it.
Definitely making this again.