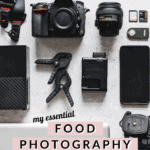
A closer look at all my essential gear for food photography - what I currently use and what I'm looking to add to my kit. Also sharing why you don't need "the best" gear to take good photos.
I truly believe that you don't need the greatest and most expensive photography gear to take amazing photos. I still don't have the greatest or most expensive things because I really don't need it (and because I'm cheap).
I spent several years of my food photography journey using an entry level $300 camera that I bought at a Starbucks from some guy on Craigslist and one cheap prime lens (a 50mm f/1.8 that literally everyone starts with!).
Left: shot 8 years ago on a Nikon D90 with 50mm f/1.8
Right: shot last year on a Nikon D750 with 50mm f/1.4 G
Don't ever be discouraged or feel limited by your gear. Good gear can help give you confidence to charge more or take on bigger projects... but only if you already have the skills to use them. There definitely is a difference in quality when it comes to sharpness and how far you can crank up the ISO, for example, with better camera bodies and lenses. But the composition, lighting, styling, and everything else that makes a good photo is literally ALL. YOU. These are just tools. It's up to you how you use them.
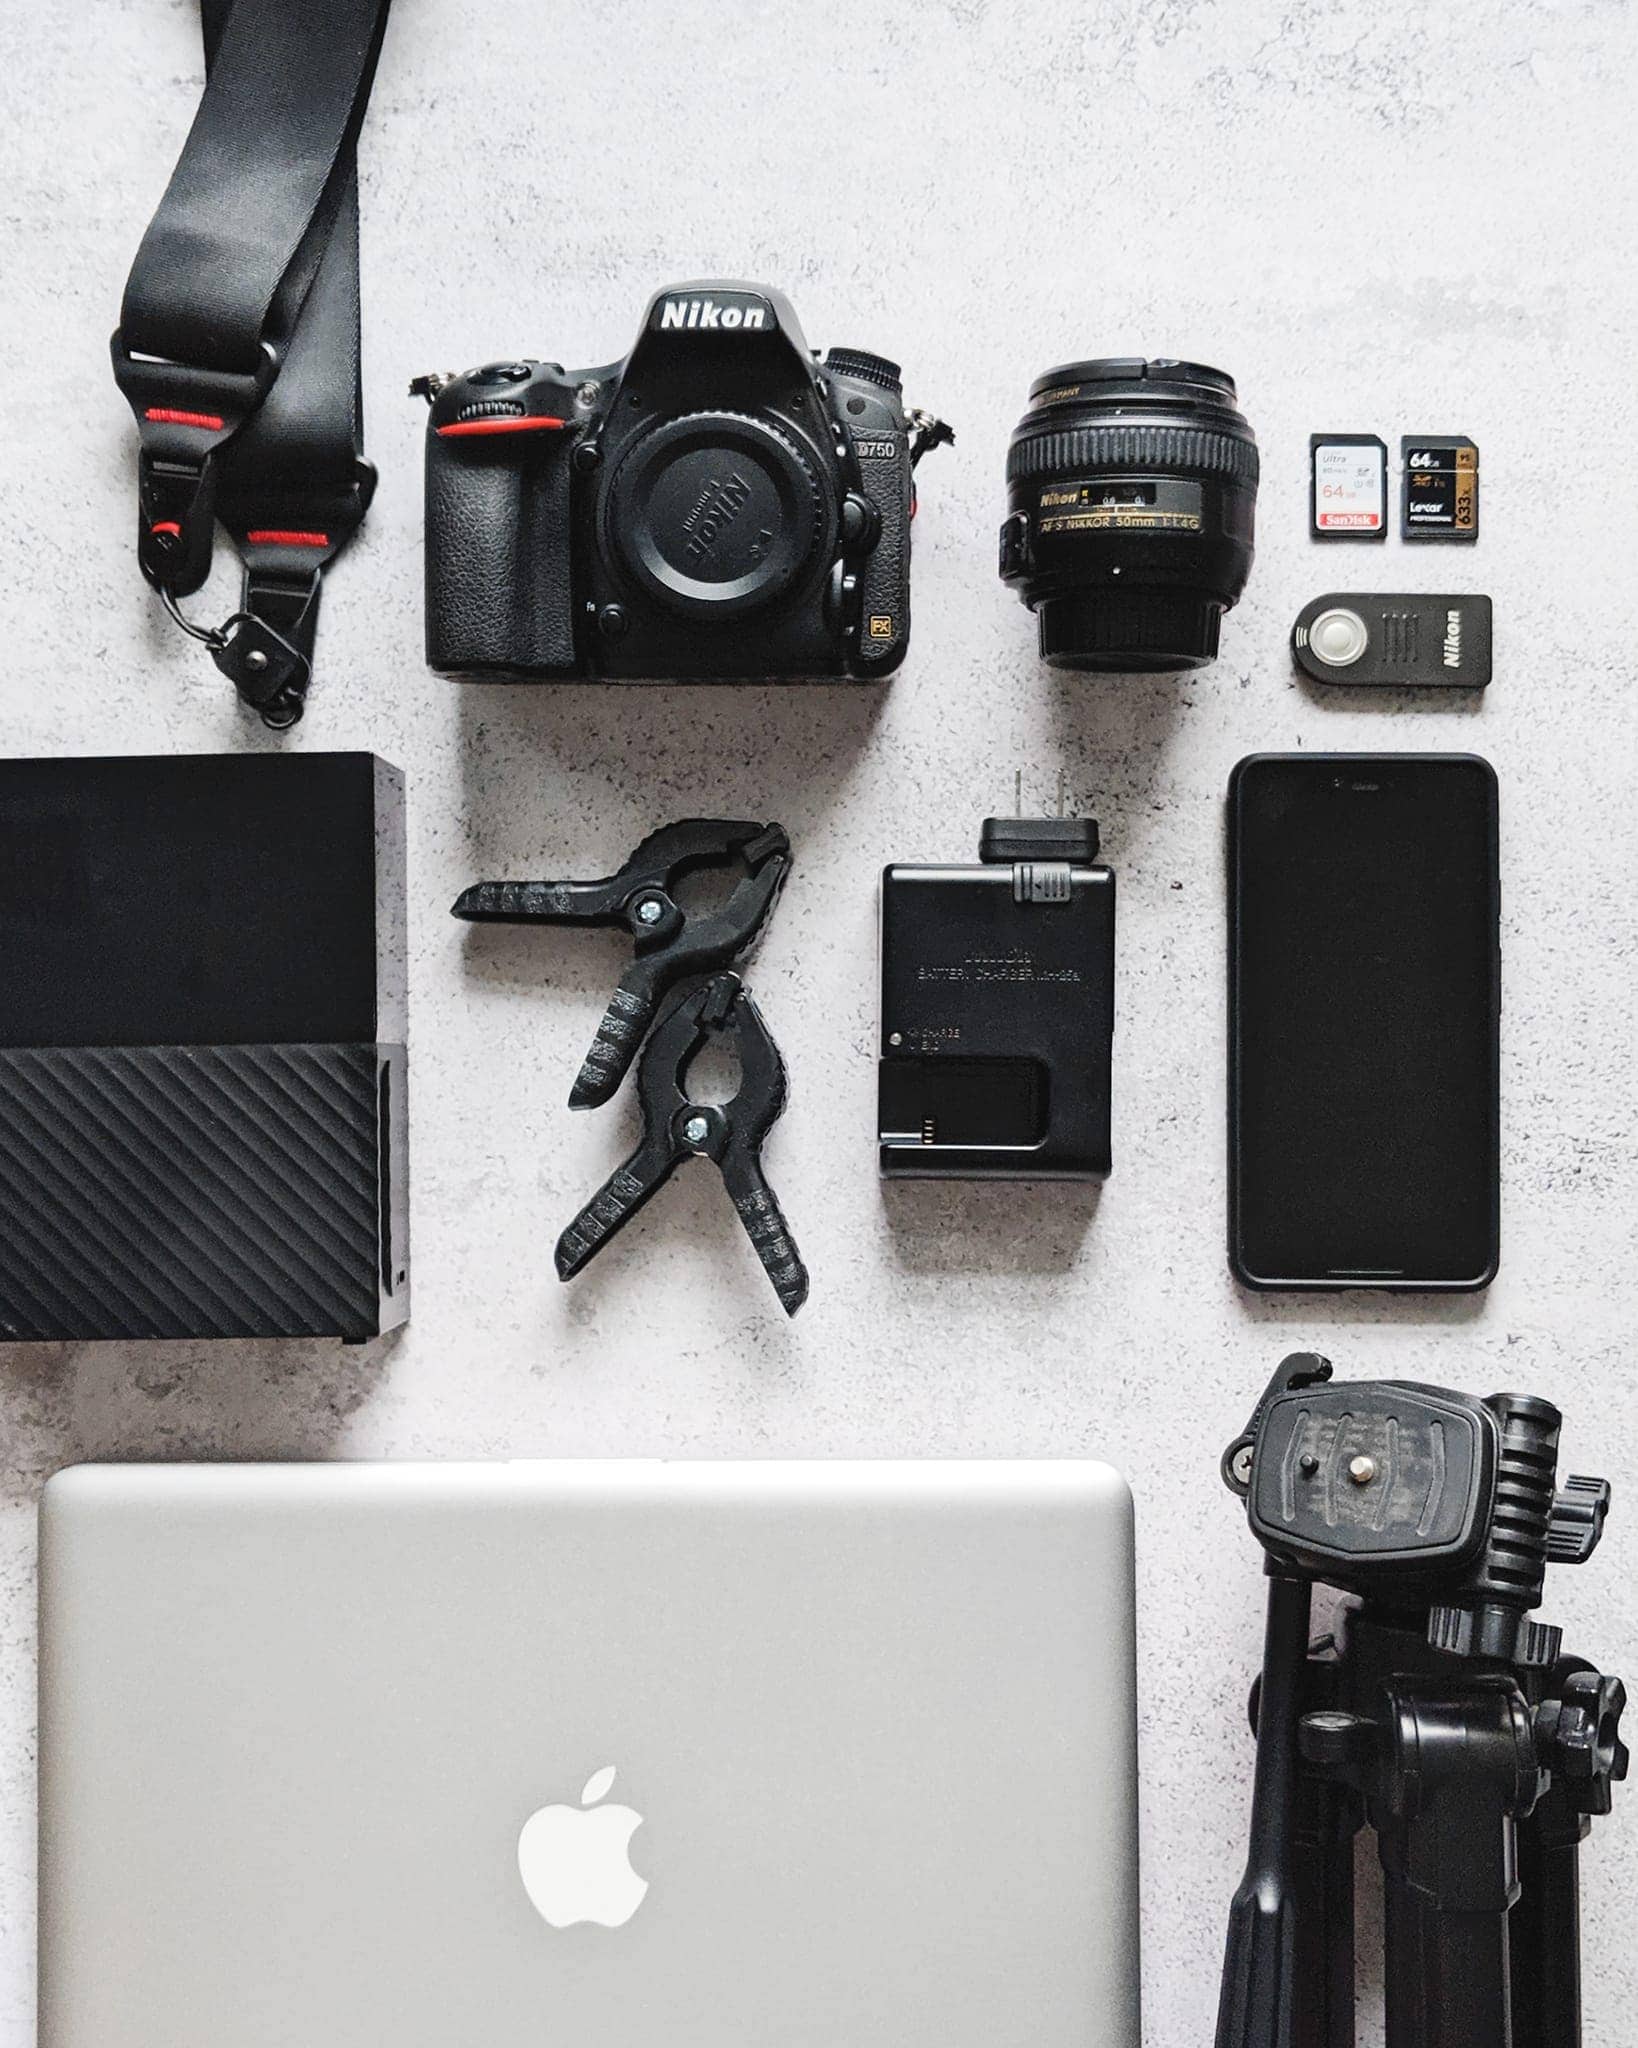
These are all the cameras, lenses, accessories, equipment, and software I'm currently working with for all of my food photography needs.
Camera & Lenses for Food Photography
Nikon D750 Camera Body - I upgraded to this camera body only a few years ago. Before this, I was shooting on a Nikon D90 (and before that, a Nikon D40 and D50!). This D750 gives me the ability to push the ISO up when I'm shooting in a dark environment or on gloomy days without any significant degradation in quality. That was my biggest pain point with my previous cameras and this solved it.
Both photos shot on Nikon D750 with 50mm f/1.4 G lens
Nikon 50mm f/1.4 G - I upgraded to this lens when my 50mm f/1.8 started having back/front focusing issues and it was just due time for an upgrade to go with my D750 since it had been my trusty lens for almost 10 years.
The lens you use has a much greater impact on the outcome of your photos than the camera body and this one will be a lifelong staple in my photography arsenal.
The 50mm is the perfect no-fuss, middle ground for shooting any kind of food in a tight crop or wide shot without the distortion of a wider lens. I usually use this lens in the f/2-4 range. f/1.4 is usually too soft for food and I reserve this for extremely low light situations or for other kinds of photography like portraits.
Sigma 24mm f/1.4 ART - I debated even talking about this lens because it's not a food photography staple but I have found it useful in specific situations. This is my only other lens! This lens is my go-to when I travel for documenting food in small spaces like cafés and markets. It's also perfect for interior photos of restaurants and large tablescapes. I went for the Sigma because of the significant cost savings compared to its Nikon counterpart.
Both photos shot on Nikon D750 with Sigma 24mm f/1.4 ART lens
Again, not an essential but if you find yourself in the above situations often and always feel like you're running out of room to take another step back to get the shot, then this one may be for you.
Macro lenses - I want to talk about macro lenses because this is one lens I don't currently own but I'm increasingly finding myself wishing I had to capture the kind of photo I keep thinking of. I've got my eye on the Nikon 105mm f/2.8 Micro for this - you will be mine soon!
A macro lens would eliminate the close up limitation of my 50mm that I keep running into. I'm always trying to get just a little bit closer to my food to capture texture and more detail but the focusing distance on my 50mm limits how close up I can get.
Google Pixel 3 XL - While this is predominantly my phone for phone calls Instagram and mobile games, the Google Pixel line takes amazing photos. I use my phone for almost all my "step by step" progress photos and videos because it's quick and easy to use with one hand in time-sensitive situations like trying not to burn things. And it shoots in RAW! For example, all the step by step photos in my caramel sauce tutorial were shot on my Google Pixel 3.
Accessories & Equipment for Food Photography
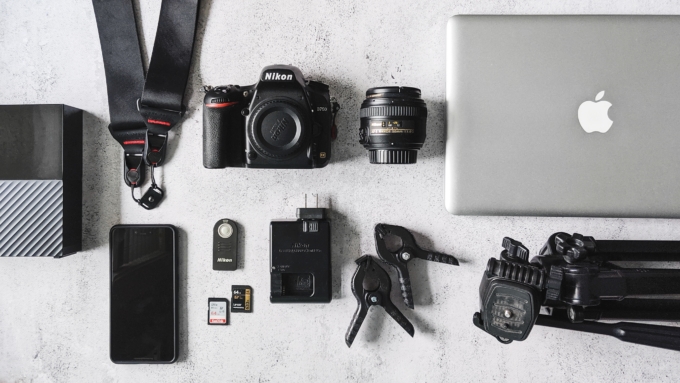
Peak Design Slide Camera Strap - I used the basic Nikon camera strap that came with my camera for the longest time. When I finally switched to this strap, it was life changing. My favourite way to wear this strap is attached to the tripod mount on the bottom of my camera so that the camera hangs upside down with the strap going across my body diagonally.
This is by far the comfiest and most efficient way for me. The camera lays close to my body right at my hip and out of the way if I'm walking around. My right hand rests right at the camera grip so grabbing it and bringing the camera up to my face is just one quick movement.
SD Cards - I don't have any preference on the type or brand of SD cards. I only need them to be at least 32 GB or 64 GB and with a relatively high write speed. I own 4-5 of these and buy them on sale.
Wireless or Wired Remote Release (ML-L3 or MC-DC2) - A wireless or wired remote for your camera's shutter release is essential for action shots and long exposures. I'm usually shooting alone so when I need a pour shot or sprinkle shot, I set up my camera on a tripod, pour with one hand, and press the remote with the other hand.
I will say that wireless versions can be a bit finnicky and only trigger when they're pointing at the camera or at certain distances. When I'm taking standard shots in close proximity to my camera, I still prefer wired remote release cords because they always work without fail.
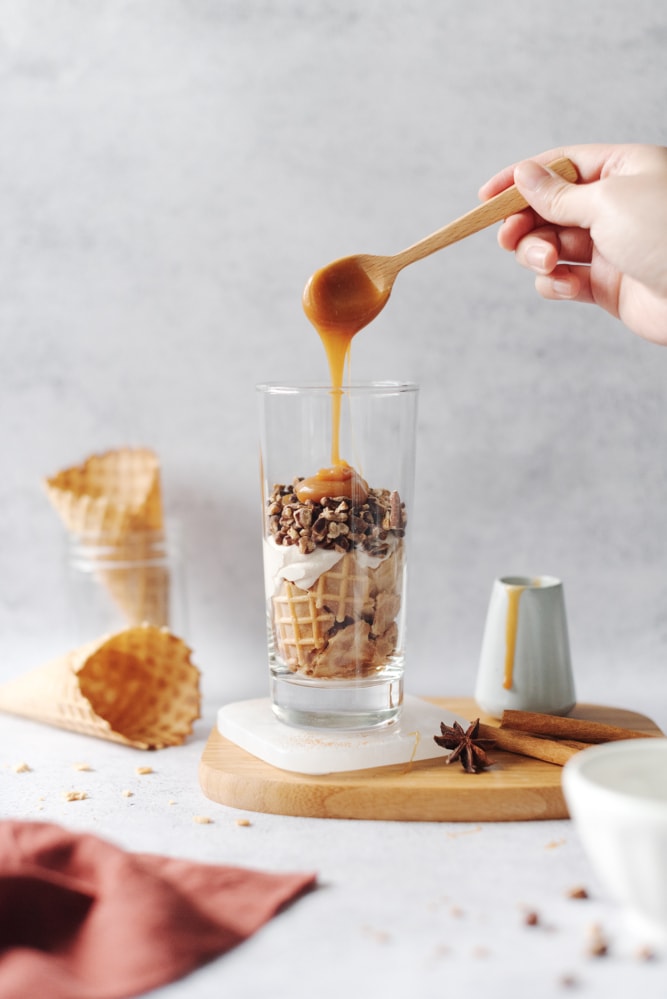
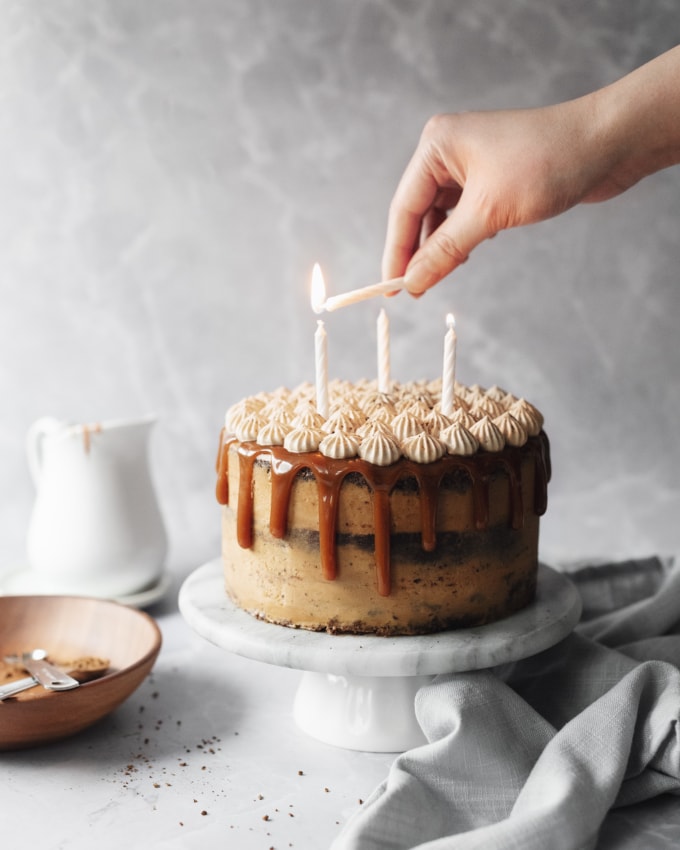
Both photos taken with camera on tripod and remote release
Tripod - Again, essential for action shots, composite shots, and time-sensitive foods like ice cream. With the camera on a tripod, I can change and move anything in the shot without changing the camera angle. I can set up the scene and make sure the composition is right before bringing in the food so that I can quickly capture it and not have to think about anything other than the food.
The tripod I use is just a small, cheap tripod that I've had for years and years. I couldn't even tell you the brand of it! It works for my purposes although occasionally I find the need for an overhead tripod, in which case, I find myself browsing Manfrotto tripods with the swivel heads and extendable arms.
Reflectors - Most often I shoot without any light modifiers because I have naturally diffused light coming through my north-facing windows. Occasionally I'll use a white foam core board that I scored with a knife on one side so that I could fold it in half and have it stand up by itself. I also have a black foam board and a 4-in-1 reflector with the gold and silver surfaces that I use rarely for more specialized shoots.
A-Clamps - I have to give a little shoutout to these clamps because they play a vital role in setting up my photo scene - clipping up my vinyl backgrounds to a sheet of plywood. They have a bunch of other general uses on a photo set like clamping cords out of the way, holding up reflectors and bounce boards, holding down linens on a table, etc.
Post-Processing Tools & Software for Food Photography
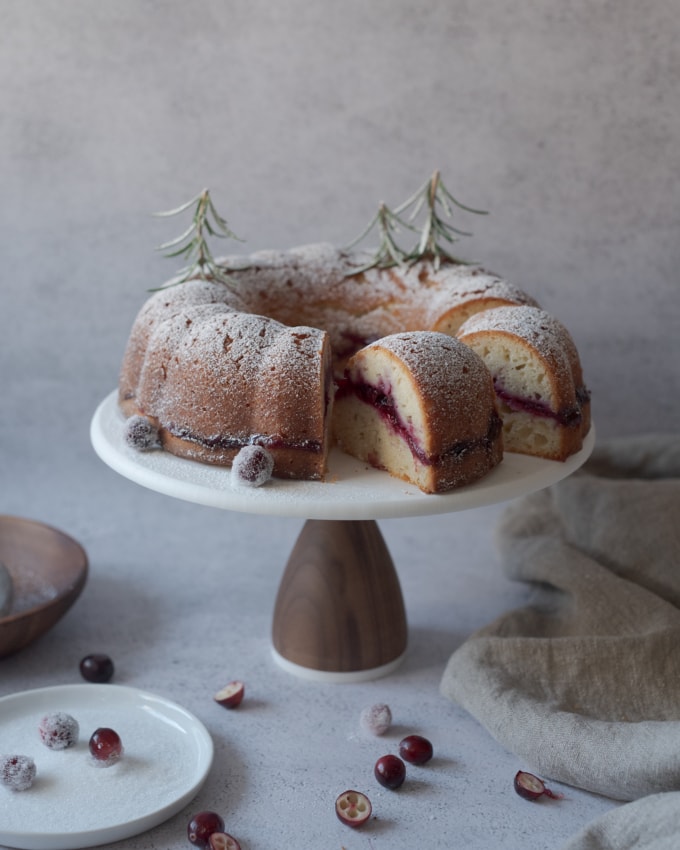
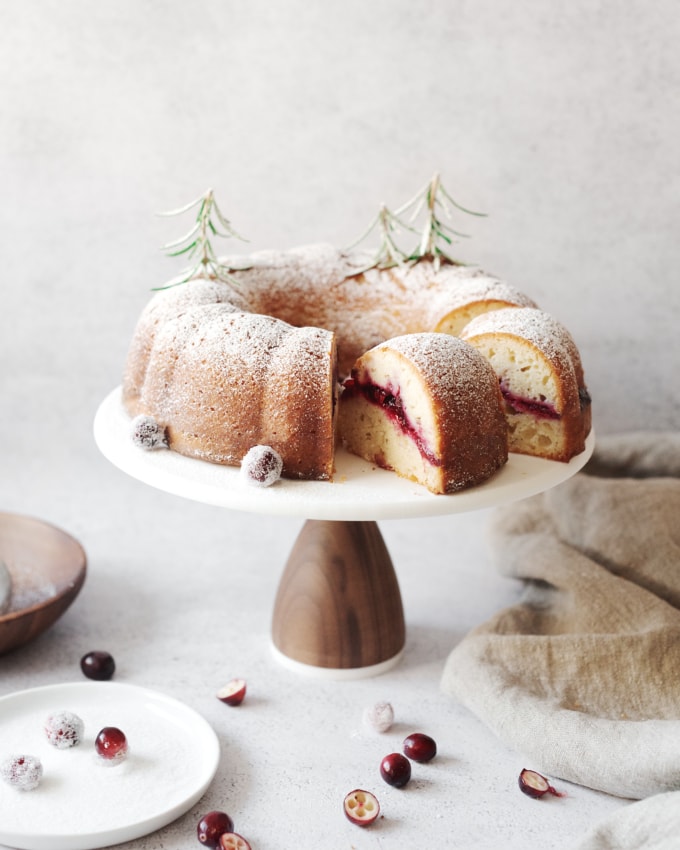
Left: before editing and retouching, Right: after editing and retouching
Macbook Pro 13" - My old and trusty (more rusty than trusty, to be honest) 2011 model Macbook Pro has been with me for almost a decade. Yes, this little 13" screen is what I do all my photo editing on! I am severely due for an upgrade but it still works!
Immediately after purchasing, I had the RAM upgraded to max capacity and just recently upgraded the hard drive to an SSD which breathed new life into this old little computer. The upgrades were speed and performance game changers and I would highly recommend doing them yourself or having someone savvy do it for you instead of buying the upgrades straight from Apple.
Adobe Photoshop & Lightroom Classic CC - I use both of these programs to edit my food photos. For large volume work where I need hundreds of final photos, I would only use Lightroom but for photos for the blog where I only need 5-10 final photos, I use a combination of both to get the amount of control on small details that I want.
Without getting too much into detail (this is a whole other post!), I use Lightroom for all my photo sorting, culling, straightening, and basic batch adjustments. I then open up my Lightroom selects in Photoshop and do the final adjustments and all retouching.
External Hard Drives - I back up all my photos onto two physical external hard drives. Each drive has partitions for a running backup of everything on my computer and a cold storage archive of all my photos that have been removed from my computer. I don't have a strong preference for any particular brand although all my drives are currently from WD. I'm still on the hunt for a cloud storage provider that I like. You can never have too many backups!
My ultimate food photography essentials
To some people, this is a lot of gear. To others, it's incredibly little!
When I pare it all down, my bare essentials that I need for my own food photography needs are a camera body, a 50mm lens, and a computer with Adobe Photoshop and Lightroom (if I had to choose only 1 program, it would be Photoshop). The rest of this stuff is nice and useful for specific looks I might want to capture but they aren't necessities. After all, this was all I started with at the very beginning.
Stay tuned for part 2 of my photography gear where I'll be talking about all the things I use for artificial lighting!

brittany
Hi Gail! What kind of phone/camera do you use for your instagram reels? And please tell us more about your artificial light set up! Do you usually post-edit your videos on a phone app or on a professional desktop app? thank you for the help!
Gail Ng
Hi!! I film my reels with either an iphone 13 or iphone 14 pro max and edit them in davinci resolve on my computer. For artificial light, I use a Godox SL150W II LED light with or without a diffuser.
Ivy
What kind of photography backgrounds do you use?
Gail Ng
Recently I've been using 2 vinyl backgrounds from Poppy Bee Surfaces (the beige/brown ones in my recent posts) the most. The rest (most of my grey ones) I printed myself by buying stock photos of textures and printing them on vinyl banners from Vistaprint 🙂
Ivy
Thank you! Will check them out 🙂
Auggie
I am now convinced we don't need expensive gears to capture food so beautifully like you did! ❤
Rui
Wow it is so nice to have you written these!
Will you consider about one of editing? That would be perfect! Really in love with your food photography!
Gail Ng
Thanks so much Rui! I will definitely do one on my editing soon! Maybe with a video so that it's easier to explain 🙂
Dee
What a wonderful post!!! So much valuable information! Thank you for that, you are such a talented and creative photographer!
Gail Ng
Thank you so much Dee!! I'm so glad it was insightful!