
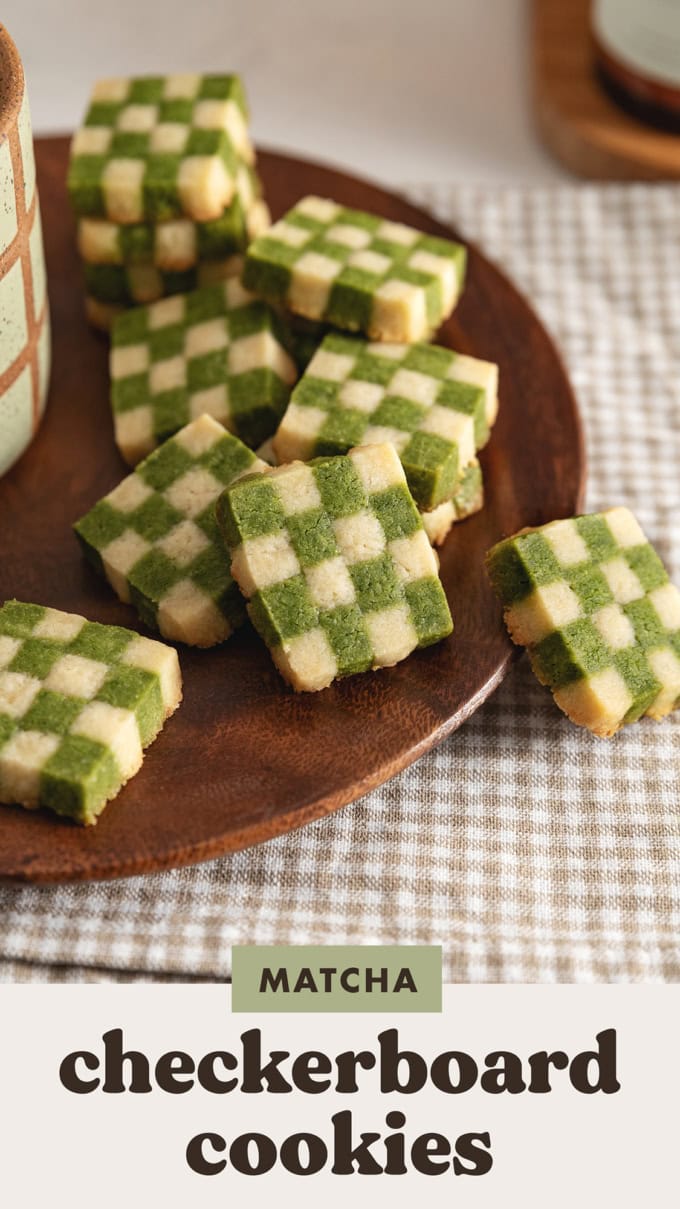
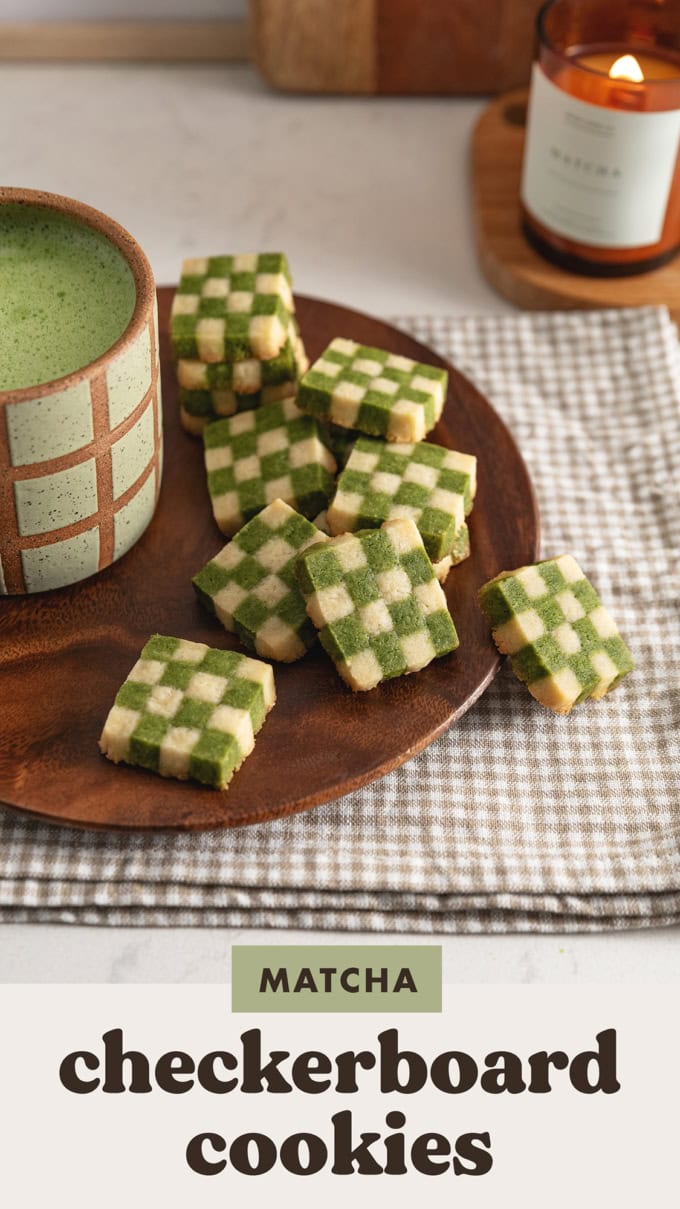


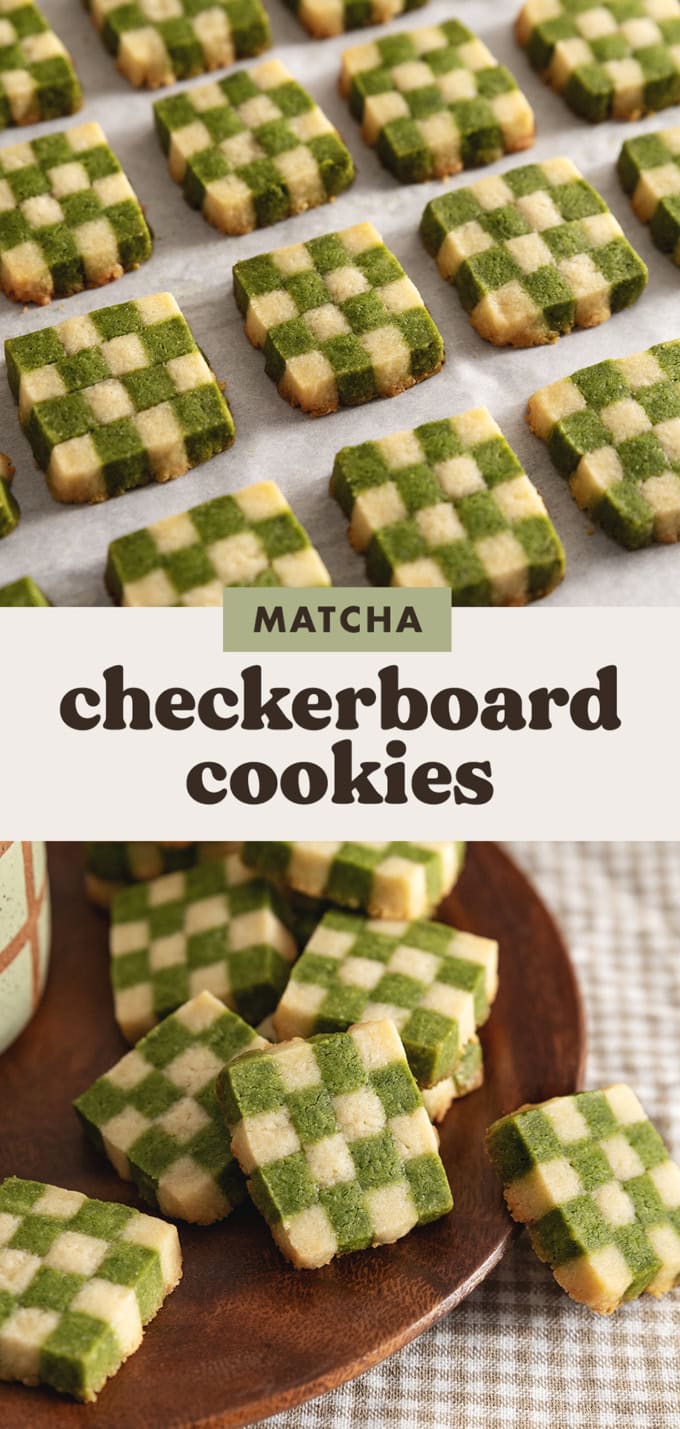

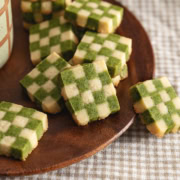
These matcha checkerboard cookies are soft and buttery with a stunning checkerboard pattern that is easier to make than it looks. They have a lovely matcha flavour that's perfect for matcha lovers!

Jump to:
Notes from the baker
The first time I saw checkerboard cookies I couldn't wrap my head around how the checkerboard pattern was created. I thought it was more involved than it actually is. Once you understand how to do it, it's easy!
These matcha checkerboard cookies have surprisingly been one of my favourite cookies I've made this holiday season both because of how pretty and intricate they look and also because the butter cookie texture is amazing.
I hope you'll add these to your holiday cookie boxes this year or just make them to try something fun. I'll definitely be making them again and again.
Why you'll love this recipe
- Rich and buttery cookies. These matcha checkerboard cookies have a soft yet crumbly texture with a nice sandy crisp to them. It's hard to explain but they're so good you can't eat just one!
- Stunning checkerboard pattern. These cookies look like they came from a bakery or a store. The checkerboard pattern is visually stunning and easy to create once you understand how.
- Two flavours in one cookie. Vanilla and matcha flavours!
- Only 7 few ingredients needed. You probably have most of them already!
- Great cookies to make ahead of time. This cookie dough freezes really well so you can bake these cookies off whenever you want.
- Stable for days at room temperature. These are great cookies to throw in a cookie box because the taste and texture pretty much stays the same day after day. And the checkerboard design is part of the cookie so it'll never get messed up.
Tools
- Electric hand mixer - A hand mixer makes beating softened butter so much easier and faster. It's not absolutely necessary for this recipe but I almost always use it for my recipes.
- Rolling pin - You'll need this to roll out the dough. A rolling pin that's flat all the way across is better for this recipe than a French rolling pin.
- Bench scraper (optional) - This is useful for pressing against the sides of your dough to create straight edges. You could also use a knife.
- Pastry brush - You'll need this to apply the egg white "glue" to the dough.
- Baking sheet - Use any baking sheet or baking tray to bake your cookies on.
Ingredient notes
As always, the full recipe card with ingredient amounts and instructions is at the bottom of this post! Keep reading for more details on each ingredient or skip ahead to the recipe.
- All-purpose flour
- Salt
- Unsalted butter - This should be softened to room temperature. Since these cookies are basically butter cookies, use a good quality butter for the best flavour.
- Granulated sugar
- Egg - You'll need to separate the egg yolk from the egg whites. The yolk will be added to the cookie dough while the egg whites will be used as a "glue" to hold all the dough pieces together.
- Vanilla extract
- Matcha powder - Use a high quality ceremonial-grade matcha powder for the best matcha flavour and vibrant green colour.

Tips for making the best matcha checkerboard cookies
- Don't overmix the dough. Since we're making two different flavours from the same dough, you want to stop mixing the dough before it's completely mixed. You'll still need to mix the matcha powder into half of the dough so starting with it slightly undermixed ensures that it isn't overmixed by the time the matcha has fully incorporated.
- Chill the dough. This is a buttery dough that should be kept cold and firm at all times. Chilled dough will be much easier to work with and it'll give you clean checkerboard lines. Pop it back in the fridge for a few minutes any time it feels like it's getting too soft as you work with it. Chilling the cookies before you bake them will also help them hold their shape during baking.
- Watch my video or look at the process photos to understand how to create the checkerboard pattern before you start. It's easier to understand how to create the pattern by watching the process visually. Once you understand it, it's actually very easy to do and you can also customize the size and number of squares in your checkerboard if you like.
- Use a ruler if you need it. If you don't think you can eyeball cutting ¼" thick slices of dough over and over, use a ruler!
- Roll your two flavours of dough to as close to the same size and shape as possible. This will reduce the amount of dough scraps produced from the uneven ends.
- Use a whisked egg white as "glue" to hold the dough together. Don't skip this part! The egg whites help stick the dough together so that all the layers don't slide around when you cut them.
- Rearrange the dough scraps to make more cookies. If you're smart about it, you can make most of the scraps (from uneven ends) into more checkerboard cookies. Any scraps that can't fit can be rolled together to make a marble cookie that's just for you 🙂
Storage
These matcha checkerboard cookies can be stored in an airtight container at room temperature for up to 5 days.
They can also be frozen in an airtight container or freezer bag for up to 1 month. Thaw at room temperature before eating.

Frequently asked questions
Baking by weight is much more accurate than volume. When using US standard cups, ingredients like flour and sugar can easily be overpacked into the cup causing you to add too much of certain ingredients. Recipes with weight measurements are also easier to scale to smaller or bigger batches without dealing with weird fractions. To measure by weight, you simply need a kitchen scale which you can usually pick up for less than $20.
Small measurements are given in tablespoons and teaspoons because most kitchen scales are not accurate under about 10g. Tiny amounts like a ¼ teaspoon may not register accurately unless you have a drug scale. Mixing these measurements is a common practice among other recipe sites and commercial kitchens.
More cookie recipes to try
- Matcha Crinkle Cookies
- Matcha Thumbprint Cookies
- Matcha White Chocolate Cookies
- Matcha Mochi Cookies
Recipe
Matcha Checkerboard Cookies
Equipment
- 1 bench scraper, optional
Ingredients
Cookies
- 300 g all-purpose flour
- ½ teaspoon salt
- 230 g unsalted butter, softened to room temperature
- 100 g granulated sugar
- 1 large egg yolk
- 1 tablespoon vanilla extract
- 1 tablespoon matcha powder, ceremonial-grade
For assembling
- 1 large egg white
Instructions
- Flour mixture: In a medium bowl, stir together the flour and salt. Set aside.

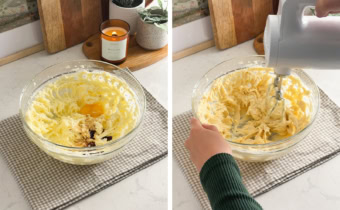
- Butter mixture: In a large mixing bowl, use an electric hand mixer to beat the softened butter until very creamy. Add the granulated sugar and beat until creamy and fluffy. Add the egg yolk and vanilla extract and beat again on low speed until combined.
- Combine flour and butter mixtures: Add the flour mixture to the butter mixture and beat on low speed until just barely combined with some flour patches still remaining.
- Divide dough: Divide the dough in half and transfer one half to a separate mixing bowl (use the bowl you used for the flour mixture). Finish mixing the dough in one of the bowls just until there are no more flour patches. This will be your plain/vanilla dough. Set aside.
- Matcha dough: To the other dough, sift in matcha powder. Use the hand mixer to mix on low speed until the matcha is evenly distributed throughout the dough.
- Shape dough: On your kitchen counter, lay down a sheet of parchment paper. Turn out the matcha dough onto the parchment paper. Use your hands to press it into a rectangular shape. Use a bench scraper or something with a straight edge to square off the sides of the rectangle as best you can.
- Roll out dough: Lay another sheet of parchment paper on top. Use a rolling pin to roll the dough out to about ¼" thick, keeping it in a rectangle shape as best you can. Occasionally, use a bench scraper to straighten the sides.
- Chill dough: On a separate sheet of parchment paper, repeat the previous two steps with the plain dough, making both sheets of dough roughly the same size and shape. Transfer both sheets of dough to the fridge to chill for at least 1 hour or until firm.
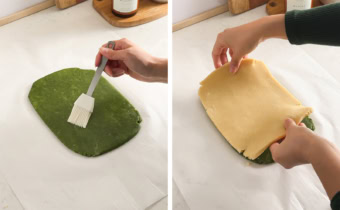
- Stack dough: Once chilled, peel one sheet of dough off the parchment paper and lay it directly on top of the other sheet of dough.
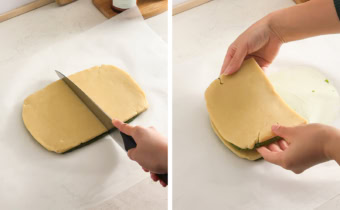
- Stack dough again: Use a knife to cut the stack of dough in half widthwise. Use a pastry brush to brush the top of one half with a thin layer of egg white. Pick up the other half of dough and lay it on top of the egg white layer so that the colours of dough are alternating. Pop this back in the fridge for 15 minutes to firm up again.
- Cut strips: Use a sharp knife to cut strips of dough that are about ¼" thick. Each long strip should have 4 stripes of alternating colours and you should end up with 12 strips.
- Create checkerboard pattern: Place one strip flat on your surface. Brush the top with a thin layer of egg white. Take another strip and flip it over so that the colours are the opposite of the ones below it. Place the strip down on top of the first strip, lining it up down the length of the strip, and gently press it down to seal together. Repeat until you have a stack of 4 strips. Repeat with the remaining strips. You should end up with 3 "blocks" with 4 strips each. Chill the blocks in the fridge for another 15 minutes to firm up again.
- Prep: Preheat the oven to 350°F. Line a baking sheet with parchment paper. Set aside.
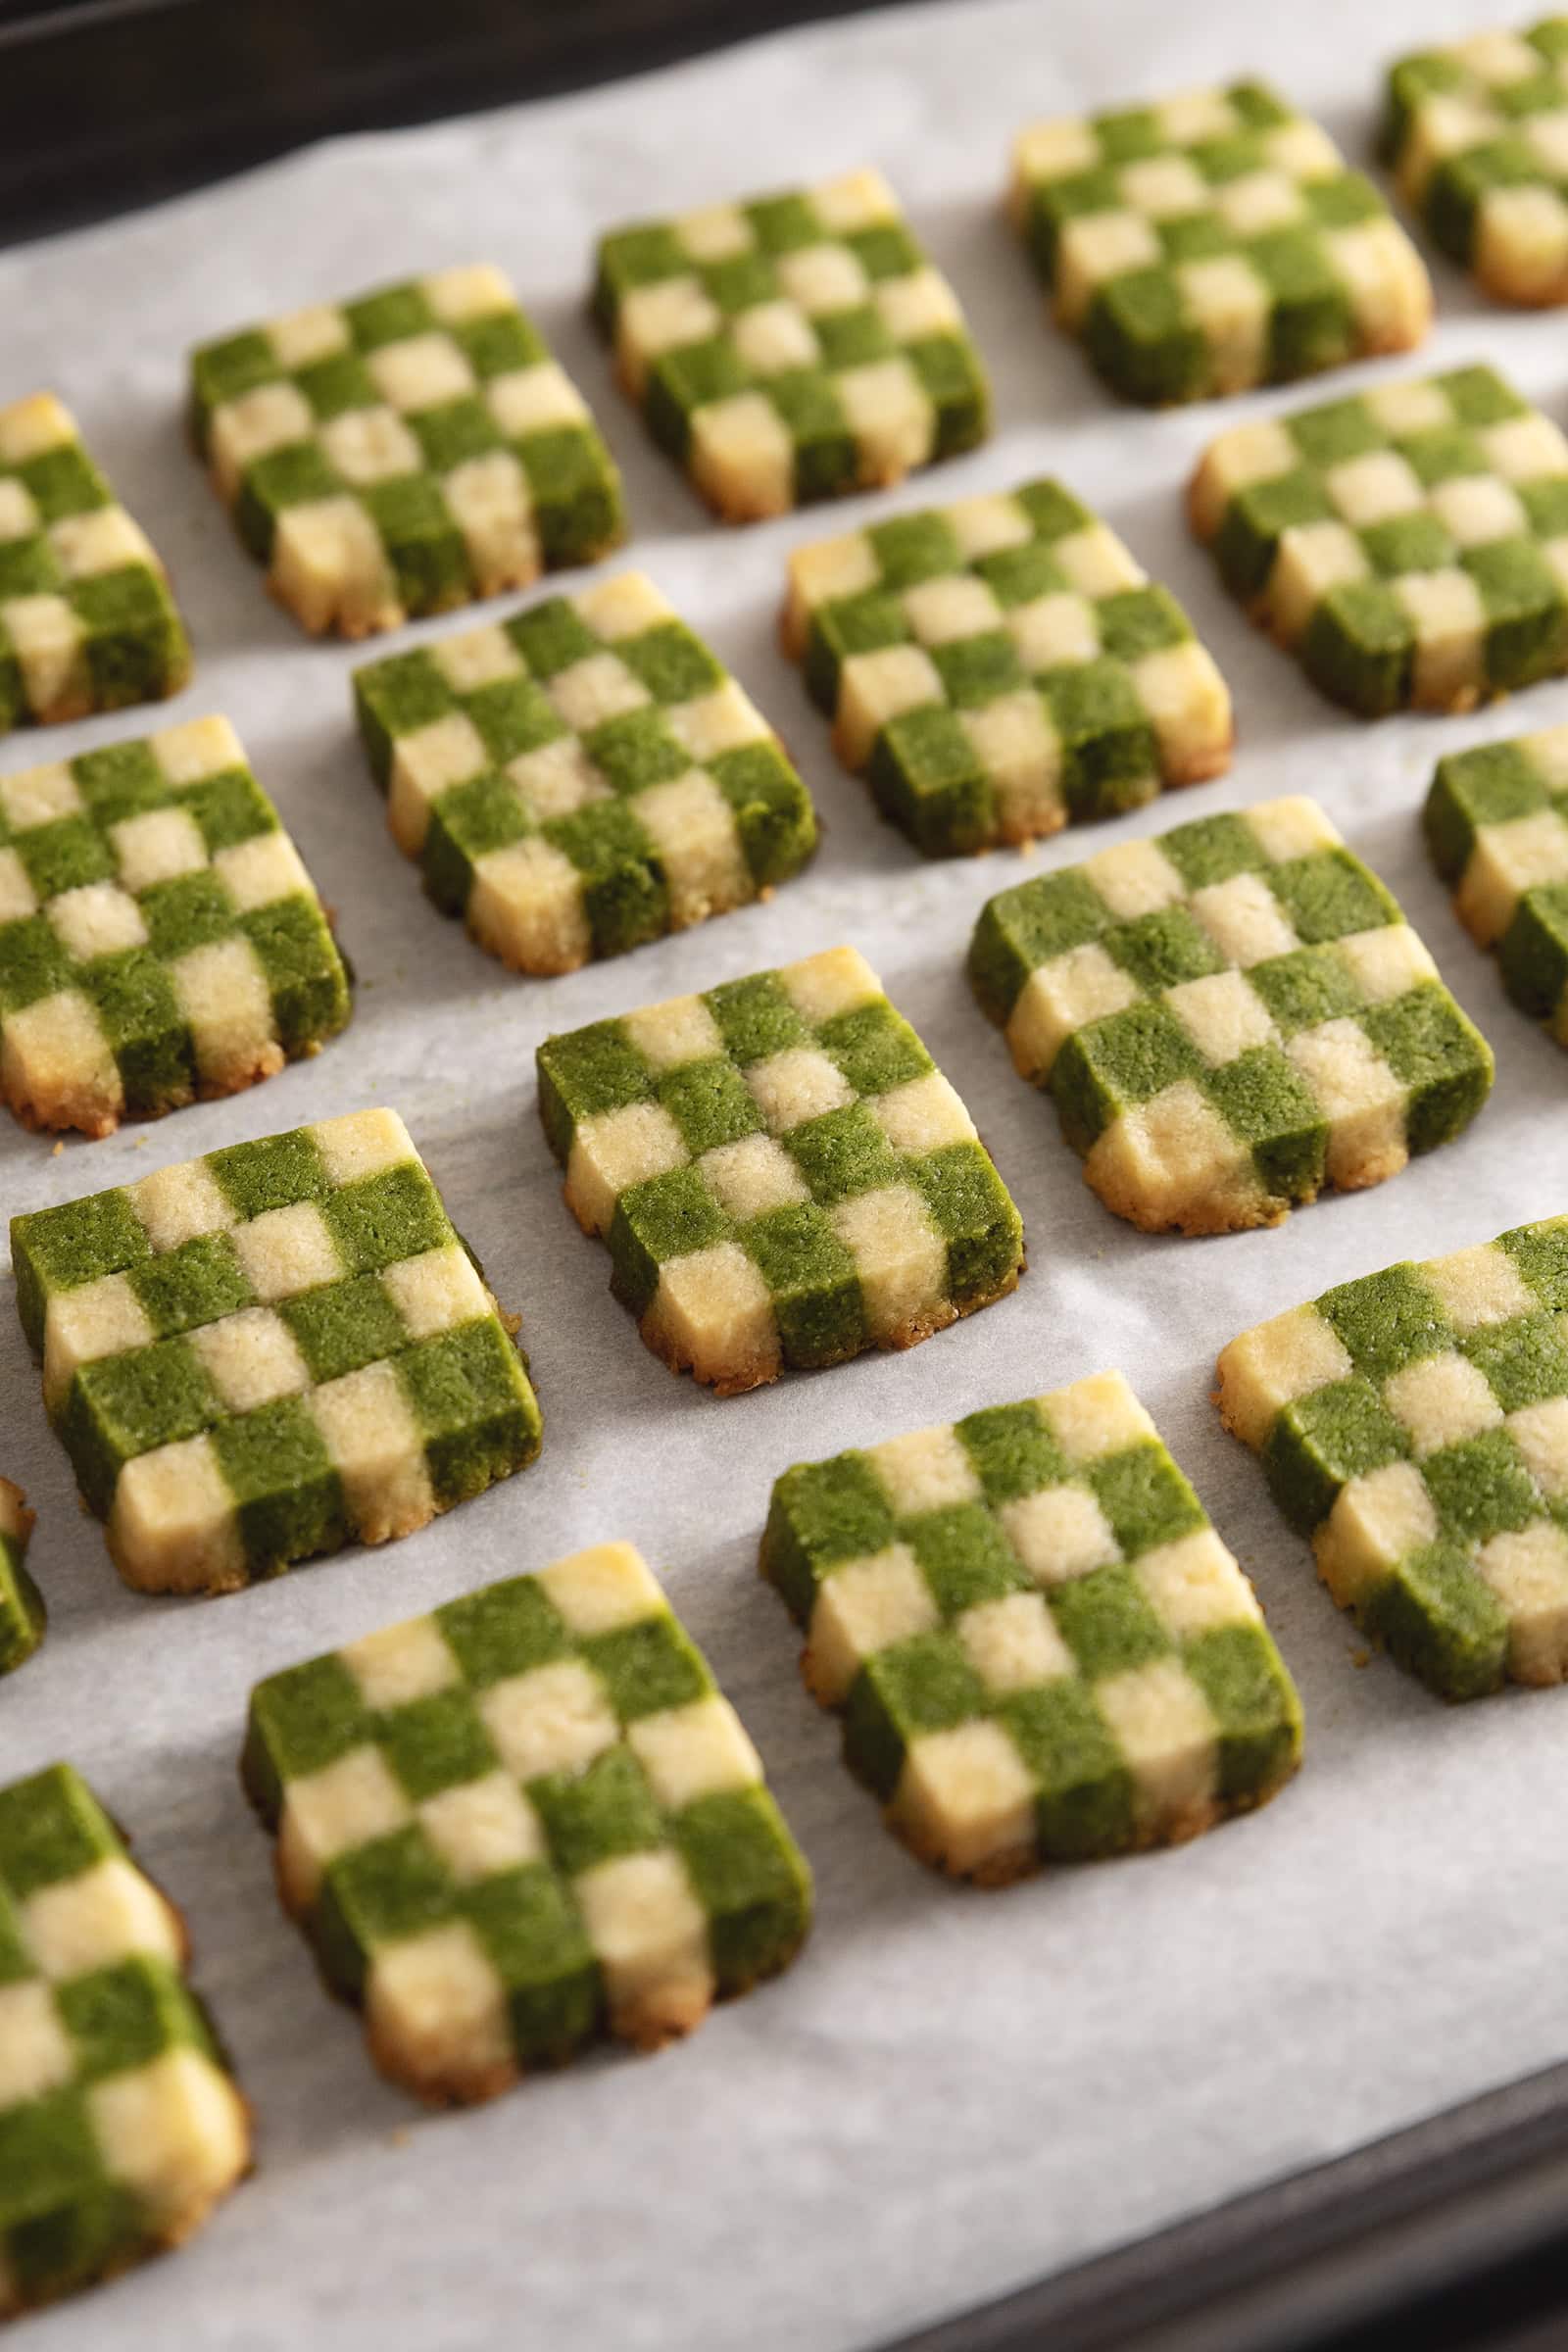
- Slice cookies: Use a sharp knife to slice each block into ¼" thick cookies. Place the cookies on your lined baking sheet, leaving about ½" in between each cookie. They won't spread much so they can be fairly close together.
- Bake: Bake cookies for 12-15 minutes or until the bottom edges of the cookies start to lightly brown.
- Cool: Let the cookies cool on the baking sheet for about 5 minutes before transferring them to a wire rack to cool completely.


Notes
- The thickness of this dough will determine the size of your checkerboard squares. Feel free to roll the dough out to ½" thick and cut the long strips ½" thick if you want bigger squares.
Isabella says
These cookies taste so good! You can taste the matcha really well. Make sure to be very precise about your dough measurements, and try to match the photos in the recipes as best as you can, otherwise the cookies will come out a little lopsided.
NIKKI says
Love this recipe!!!!❤️❤️❤️ it's so goood, recommend it to whoever who adores matcha plus it turned out beautiful ❤️❤️. Can't wait to test other recipes, they look all so good .My family loves it.
My compliments to the author teak and thyme.
Stevie says
I think a TBSP of vanilla extract overpowered the matcha. I wonder if she meant teaspoon
Meg says
These turned out so good!! I didn’t use the best quality matcha so the flavor isn’t as strong, could’ve added another tablespoon of powder. Rolled them in some sparkling sugar before baking and they turned out amazing!!
Esther An says
Easy to bake and delicious!
Shreya Chattapadhyay says
Hi Gail! This looks beautiful. I was thinking of using freeze dried strawberries in the plain dough to make strawberry matcha checkerboard instead, what do you think of that? Also, can I freeze the checkerboard log, and then thaw, slice and bake, I’m planning to put this in a cookie box, so prepping in advance would help greatly!
Claudia says
Made these for a holiday cookie box and it turned out super well! The cookies themselves are really buttery and crumble/melt in your mouth and making the checkerboard pattern was simpler than I thought (but it was time consuming). Great recipe!
Vicki says
Made these today!! Flavor is perfect and you can definitely taste the matcha ☺️. I tried for perfect 1/4in rectangles of dough and measured everything meticulously with a ruler and ended up with 87(!!!) cookies which was a super lovely surprise hahaha. Thank you for the great recipe!
Tan says
Loved these cookies! Had a lovely matcha flavor and good texture. Had a slight hint of bitterness; I think I'll experiment with different kinds of matcha. These cookies are super cute and great for impressing friends.
hana says
How much chocolate powder should I use if i want to replace matcha?
Anonymous says
How long could we possibly store these for?
Coby Trakas says
I’m gonna go make these. Someday I would like to make pride cookies! *I’m non binary btw*
vi says
perfect texture and flavour!
Soren says
Made these for my Christmas baking and they turned out great! I will say pay attention to the measurements when you're rolling each dough flat, as I accidentally made them a little smaller than the recipe intended. But tasted delicious, had the right balance of matcha and buttery flavor.
Phuong says
Fun, easy, beautiful and the first to go in the cookie box!
Deepika says
Spectacular recipe! The instructions were so easy to follow. I don't think my matcha was ceremonial-grade so the flavour and colour were lighter, but they still came out beautifully. I also made my cookies smaller and got around 40 out of it!
Will for sure be making again 🙂
Caitlyn says
So cute and fun!! Loved this recipe :)) super easy to follow
Emily says
Great recipe! Turned out exactly like her photos 🙂 family loved it and said wasn't too sweet. I also made chocolate versions too.
Ky says
Really good recipes! It is my first time making checkboard cookies but this recipe made it really simple process. Thank for sharing this recipe
Alicia says
these are very beginner friendly! I have never made an intricate cookie like this, but they turned out PERFECT! a great, detailed recipe.
Cindy says
Such a good recipe!! I was skeptical if I could get the pattern done without making a mess, but it was so easy actually! And the cookies turned out so perfectly. I will make them again with cocoa instead of matcha, that will also be super yummy