
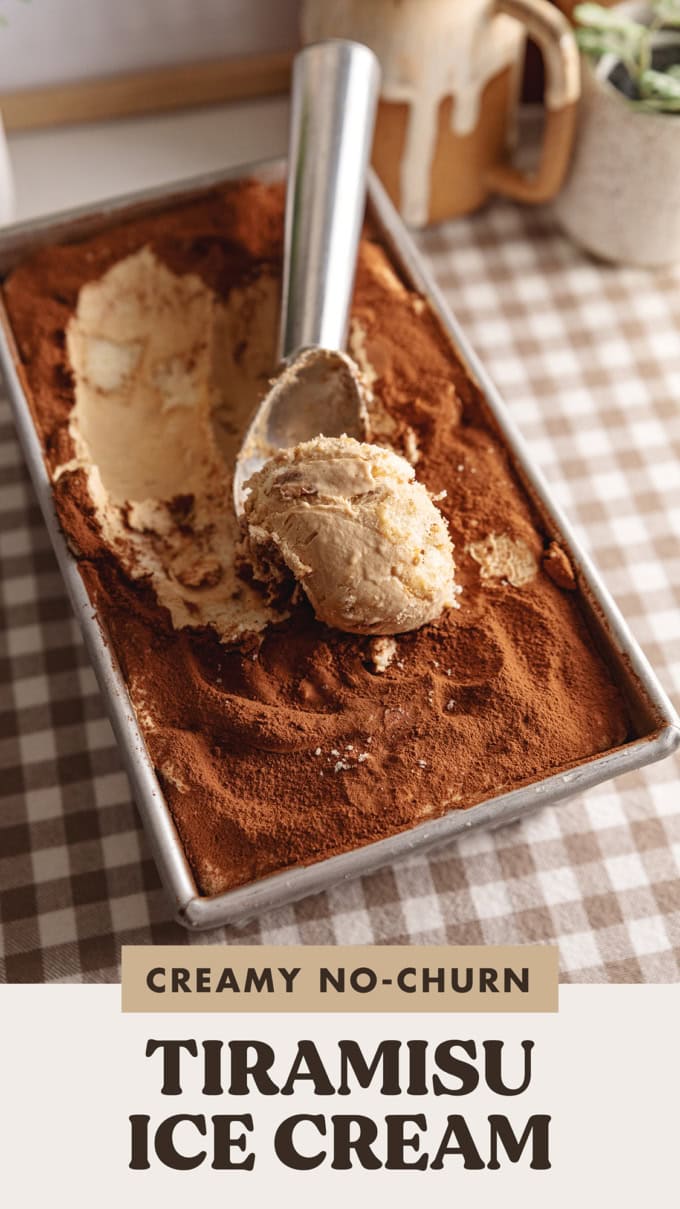


This is the easiest and most delicious way to combine creamy no-churn espresso ice cream with chunks of soft ladyfinger biscuits and cocoa powder to make a tiramisu ice cream to celebrate the beloved Italian dessert.
Jump to:
Notes from the baker
If you've ever eaten a tiramisu and thought "this might taste good if I put it in the freezer", this is the recipe for you! Honestly, I'm not sure how common that thought is but let me just tell you that tiramisu absolutely works as an ice cream flavour. It might be one of my favourites, actually.
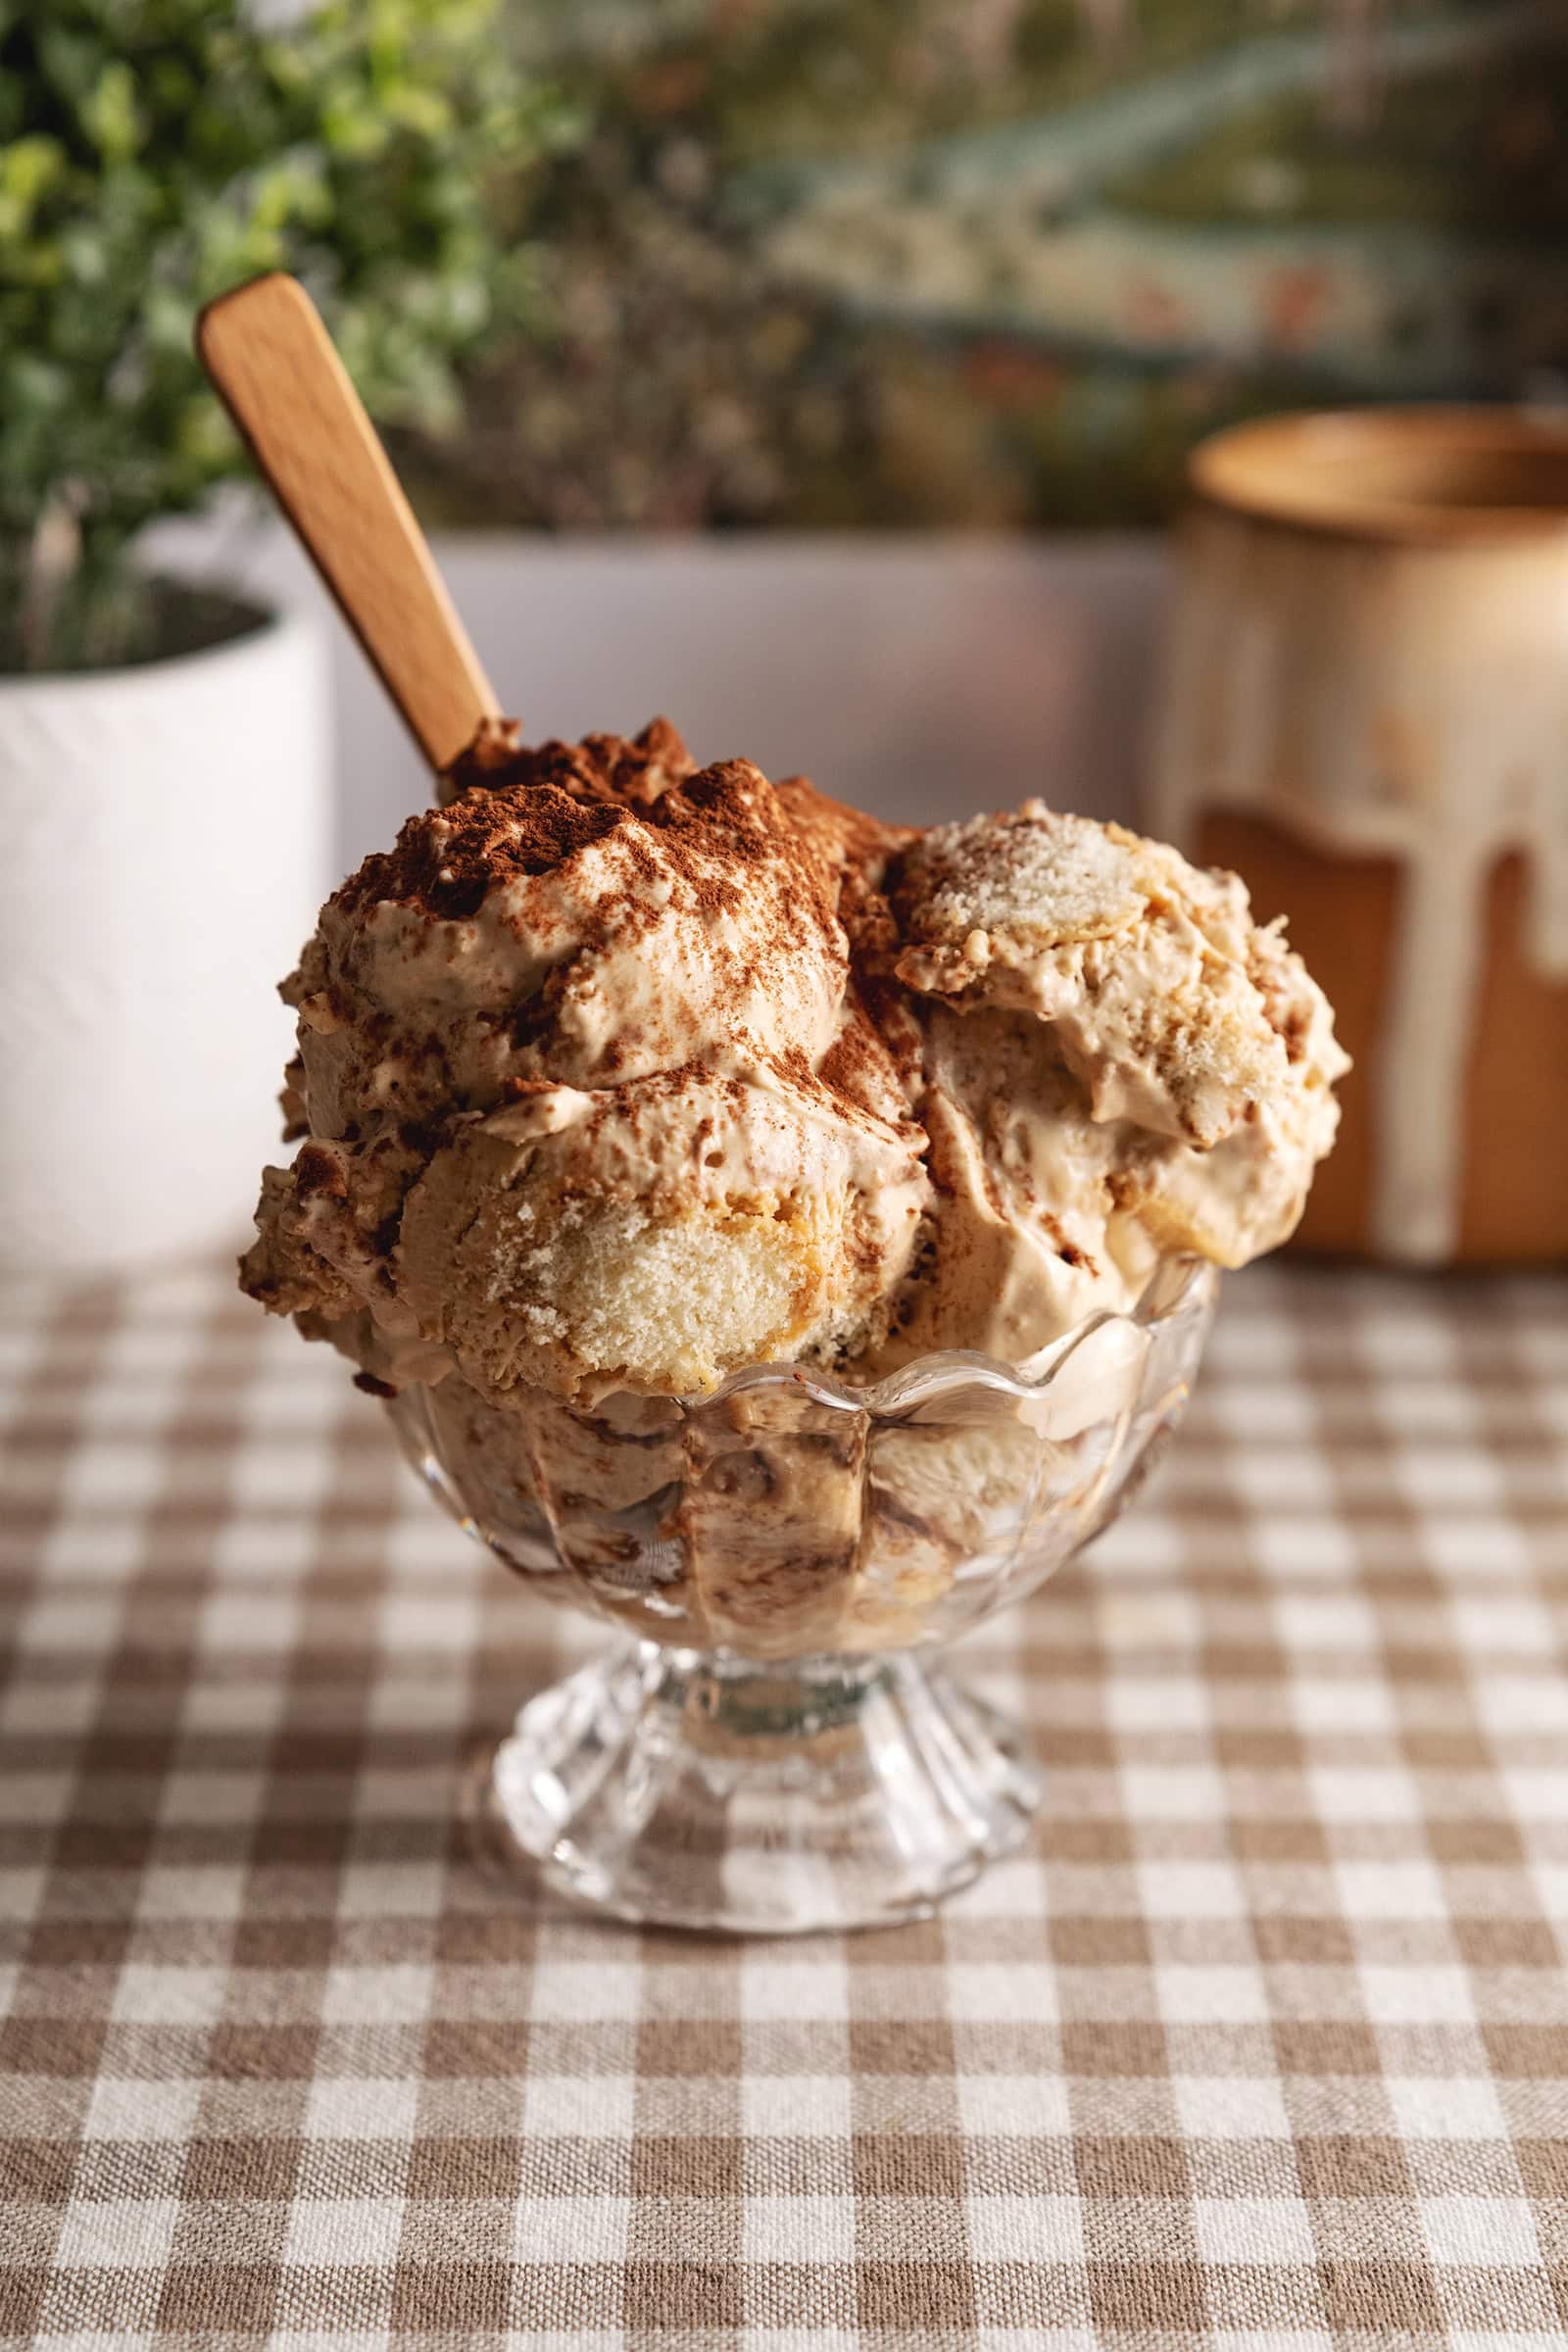
This tiramisu ice cream is so creamy with satisfying cake-like pieces of ladyfingers mixed in. The coffee flavour comes entirely from instant espresso to make this a super easy recipe. It's much easier to make than a classic tiramisu for when you want a quick and fun ice cream flavour.
Why you'll love this recipe
- No-churn ice cream. You don't need an ice cream maker or any special tools to make this simple ice cream.
- Delicious coffee flavour. The fragrant coffee flavour comes from instant espresso powder which makes it easy and accessible without adding any extra liquid to the ice cream.
- Soft cake-like ladyfinger chunks. You get these delightful bits of cake in every scoop without ever having to bake any cake at all.
- Easy to make recipe. Unlike classic tiramisu, there's no need for a double boiler or anything to make the mascarpone cream. Just whip it up and freeze it!
Tools
- Loaf pan - I like using a loaf pan for freezing my ice cream in but you can use any container you have on hand or even use multiple smaller containers for single servings.
- Whisk - You'll need a whisk to whip the cream to firm peaks. You can also use an electric hand mixer but I actually find a regular whisk whips it up faster with less splashing.
- Fine mesh sieve - You'll need a small sieve to dust the cocoa powder on top of the ice cream to finish it off.
Ingredient notes
As always, the full recipe card with ingredient amounts and instructions is at the bottom of this post! Keep reading for more details on each ingredient or skip ahead to the recipe.
- Mascarpone cheese - Mascarpone is a very soft cheese that's a main component of classic tiramisu. In this recipe, we're mixing it directly into the ice cream base. It makes the ice cream thick and creamy with a hint of its delicate flavour.
- Whipping cream or heavy cream - You can use whipping cream for a lighter ice cream or heavy cream for a thicker and creamier ice cream.
- Instant espresso powder - Make sure you use instant espresso powder, NOT ground coffee beans. Instant espresso dissolves directly in water and gives this ice cream its coffee flavour.
- Vanilla extract
- Sweetened condensed milk - Condensed milk adds enough sugar to the ice cream to help prevent ice crystals from forming and gives the ice cream more depth in flavour that you wouldn't get with regular granulated sugar.
- Ladyfingers - Ladyfingers are hard, spongey Italian cookies that soak up any liquid quickly and softens into a cake-like texture. I use store-bought ladyfinger biscuits to make this recipe super easy but you can always make your own ladyfingers if you prefer.
- Cocoa powder - For dusting on top of the ice cream just like you would with tiramisu. You can do this before freezing or before serving the ice cream if you like.
Tips for making the best tiramisu ice cream
- Thin out the mascarpone cheese first. Since the mascarpone cheese is a thicker texture than whipping cream, it's important to break it down first and slowly bring it to the same consistency as the whipping cream to avoid chunks of macarpone in the ice cream.
- Whip the cream to firm peaks. Whipping little air pockets into the cream prevents ice crystals from forming when it freezes and creates a smooth and creamy ice cream texture, just like what an ice cream churner does.
- Break the ladyfingers into small pieces. Smaller pieces of biscuits will be able to absorb moisture from the cream thoroughly and soften all the way through. If the pieces are too big, they might remain hard in the middle.
Storage
This tiramisu ice cream should be covered tightly with plastic wrap and/or aluminum foil and stored in the freezer for up to 2 weeks.
Homemade no-churn ice cream doesn't contain preservatives like store-bought ice cream so it's best to enjoy it within the first week. It may dry out and become harder to scoop the longer it sits in the freezer especially if it's not covered properly.
Frequently asked questions
Baking by weight is much more accurate than volume. When using US standard cups, ingredients like flour and sugar can easily be overpacked into the cup causing you to add too much of certain ingredients. Recipes with weight measurements are also easier to scale to smaller or bigger batches without dealing with weird fractions. To measure by weight, you simply need a kitchen scale which you can usually pick up for less than $20.
Small measurements are given in tablespoons and teaspoons because most kitchen scales are not accurate under about 10g. Tiny amounts like a ¼ teaspoon may not register accurately unless you have a drug scale. Mixing these measurements is a common practice among other recipe sites and commercial kitchens.
More tiramisu recipes to try
- Tiramisu Brownies
- Tiramisu Cookies
- Tiramisu Crepe Cake
- Tiramisu Hot Chocolate
- Banana Pudding Tiramisu
Recipe

Tiramisu Ice Cream
Equipment
Ingredients
- 200 g mascarpone cheese
- 400 g whipping cream or heavy cream, cold
- 2 tablespoons instant espresso powder
- 1 tablespoon vanilla extract
- 300 mL sweetened condensed milk, 1 can
- 6 ladyfingers
- cocoa powder, for dusting
Instructions
- Loosen the mascarpone: In a large mixing bowl, add the mascarpone cheese and about ¼ of whipping cream. Whisk until the mascarpone is very creamy and thinned out.
- Whip the cream: Add the rest of the whipping cream, espresso powder, and vanilla extract. Whisk vigorously until it becomes firm peaks.
- Fold in condensed milk: Slowly pour the condensed milk into the whipped cream while folding it all together with a spatula until no streaks of condensed milk remain.
- Add ladyfingers: Crumble the ladyfingers into small pieces and fold them into the whipped cream mixture until distributed.
- Fill pan: Pour the mixture into a loaf pan. Use a fine mesh sieve to dust the top with cocoa powder.
- Freeze: Cover and freeze the ice cream mixture for at least 6 hours or until firm. When scooping the ice cream, let it sit at room temperature for 10-15 minutes. Run an ice cream scoop under hot water before scooping.


Leave a comment or review