
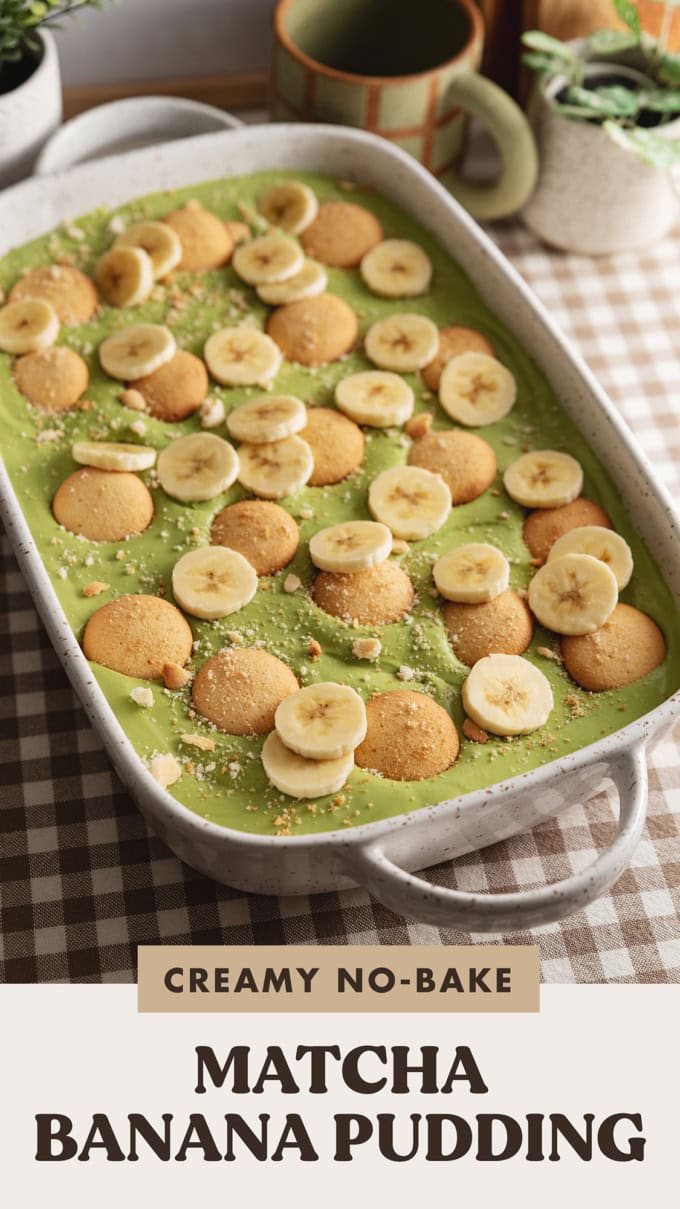
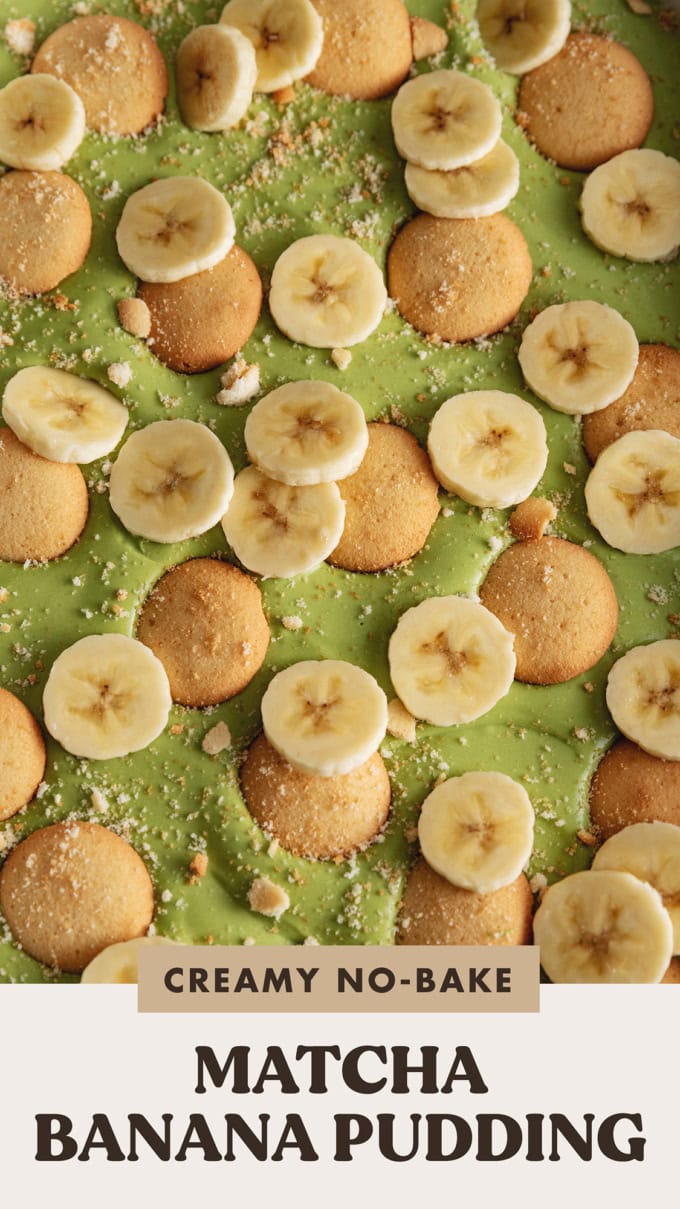
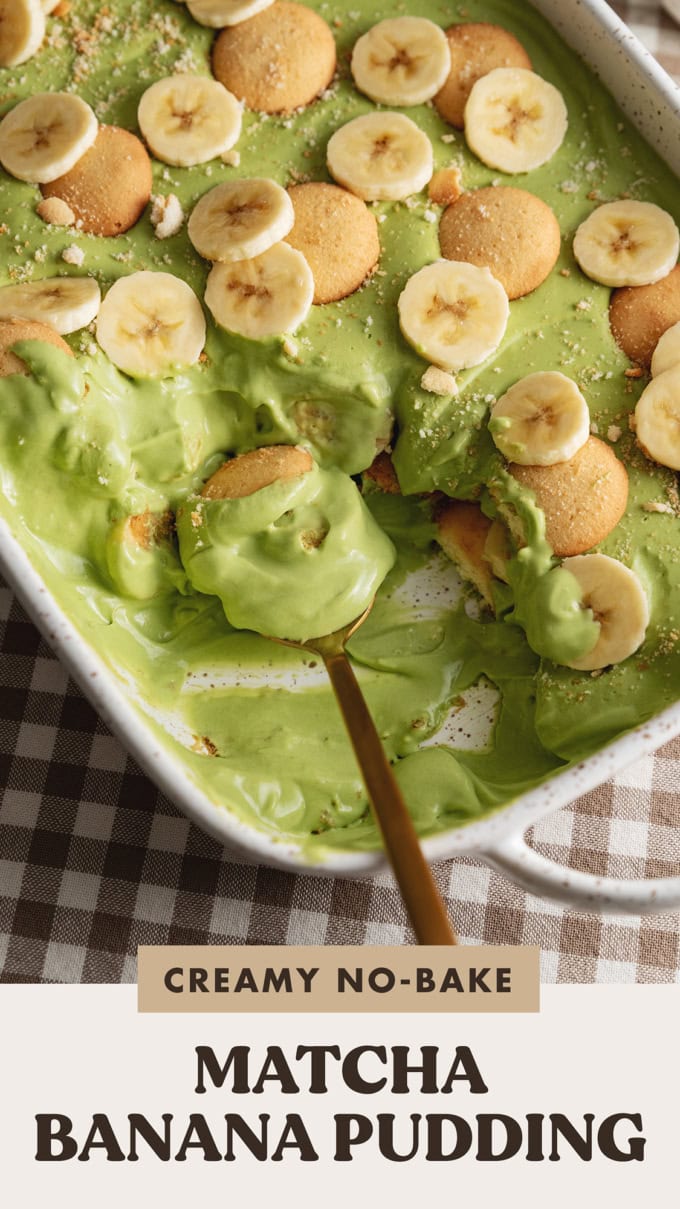
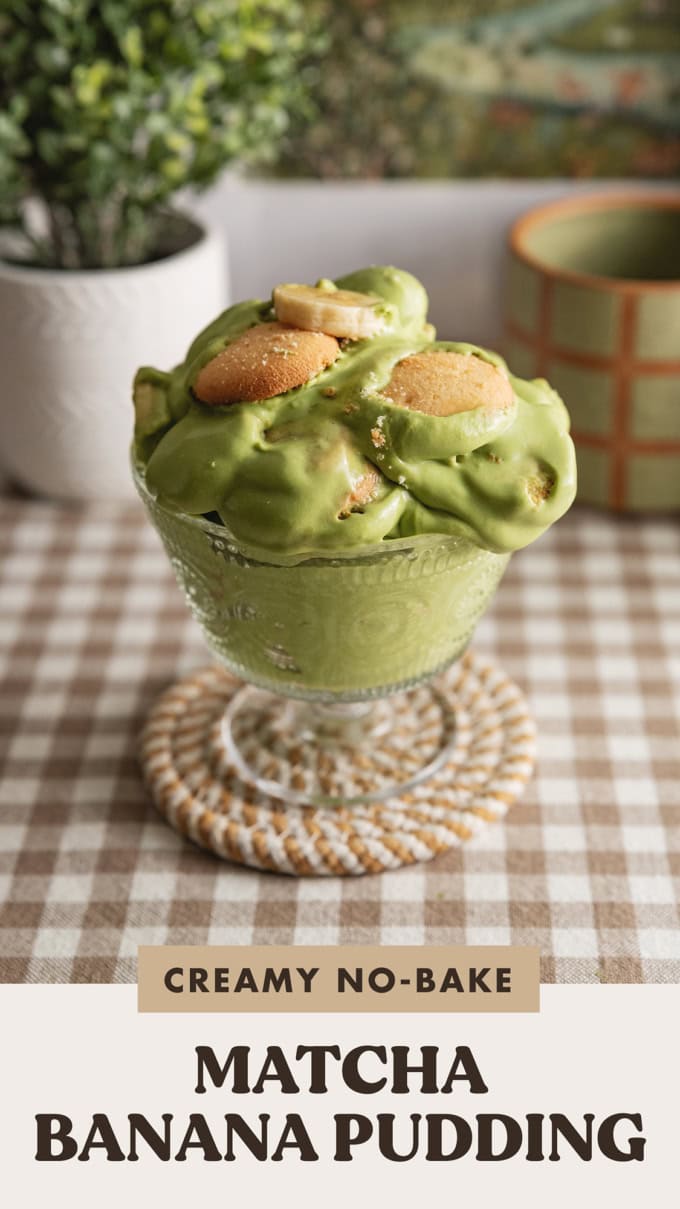
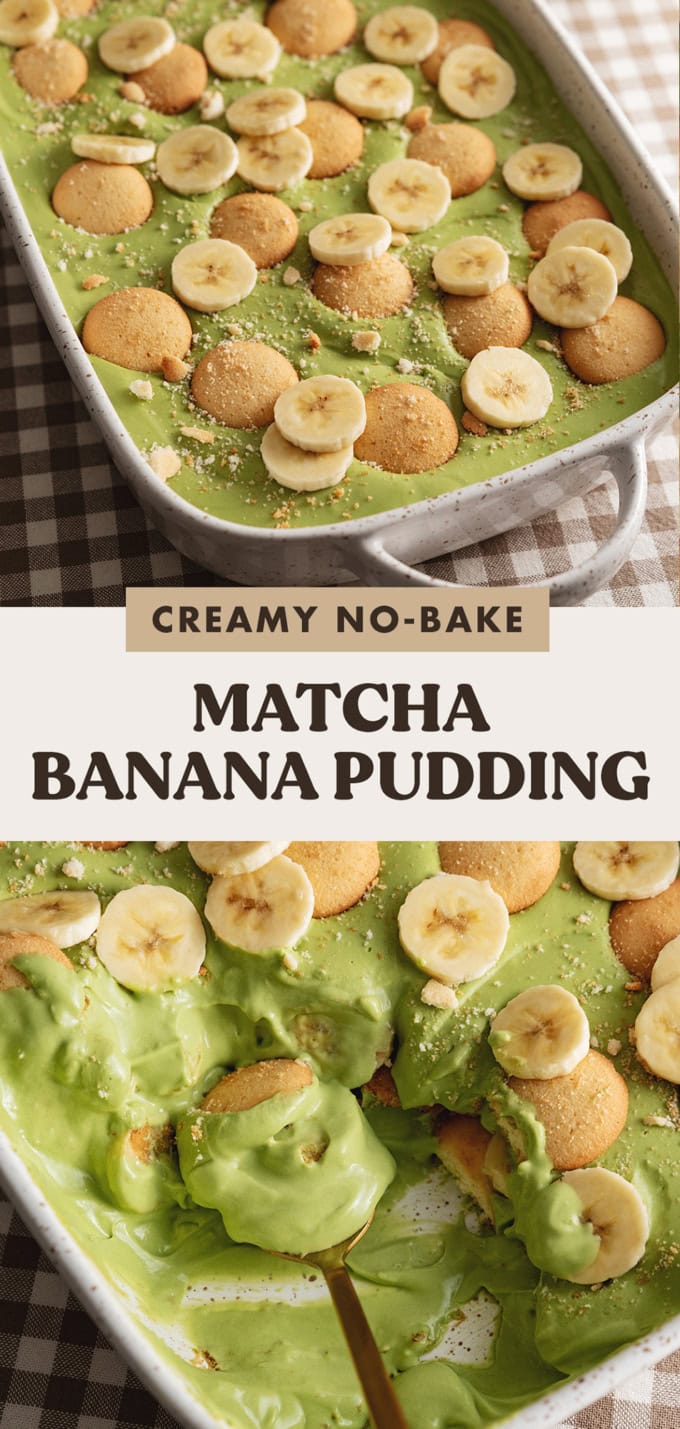
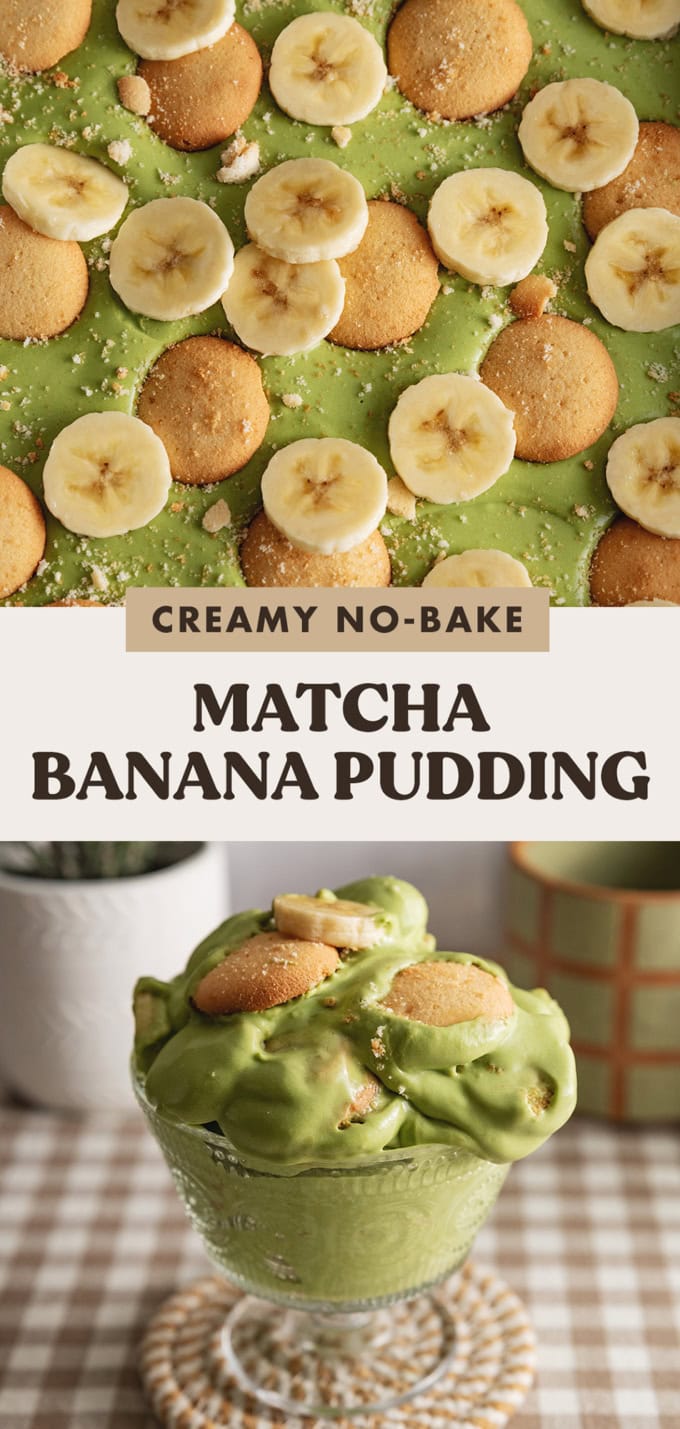
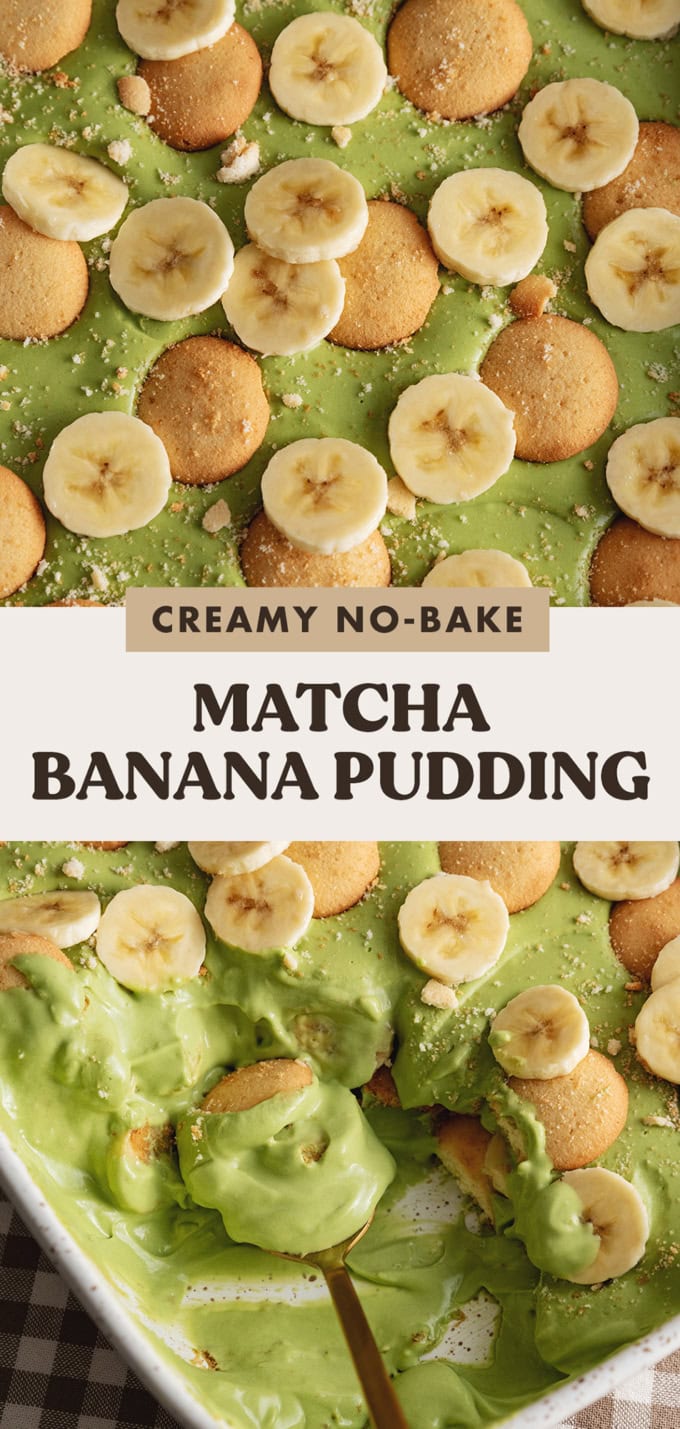
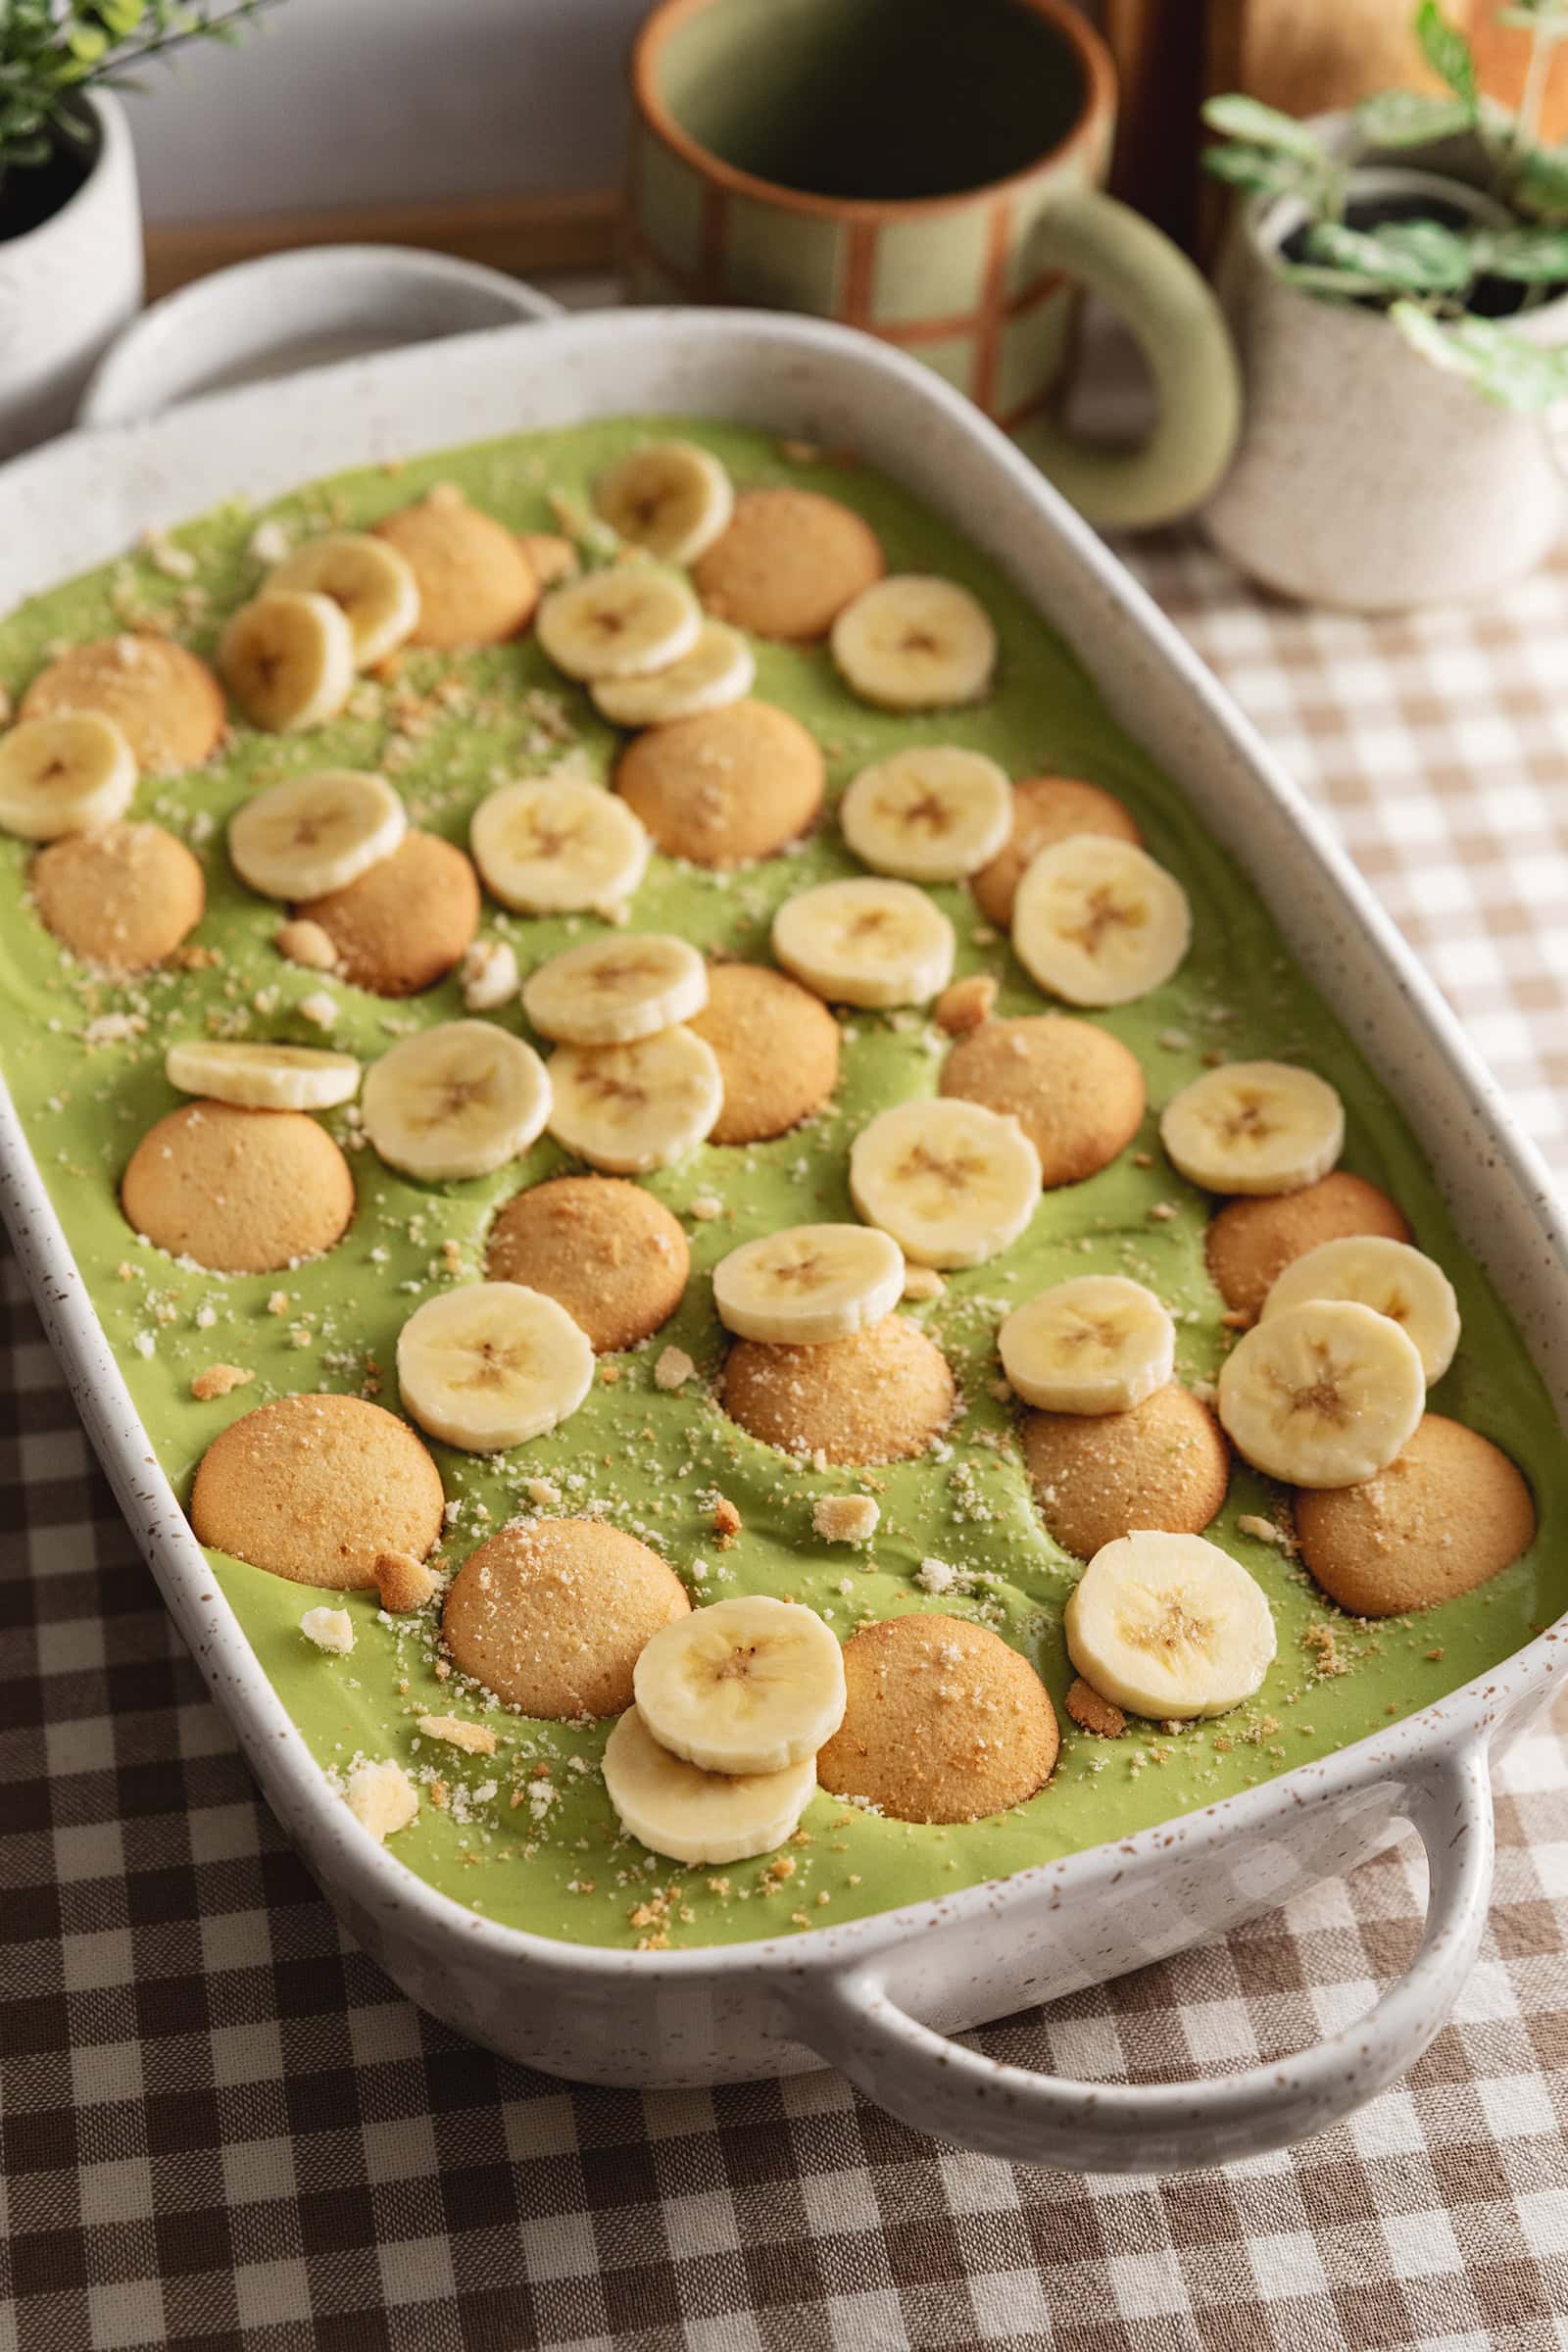
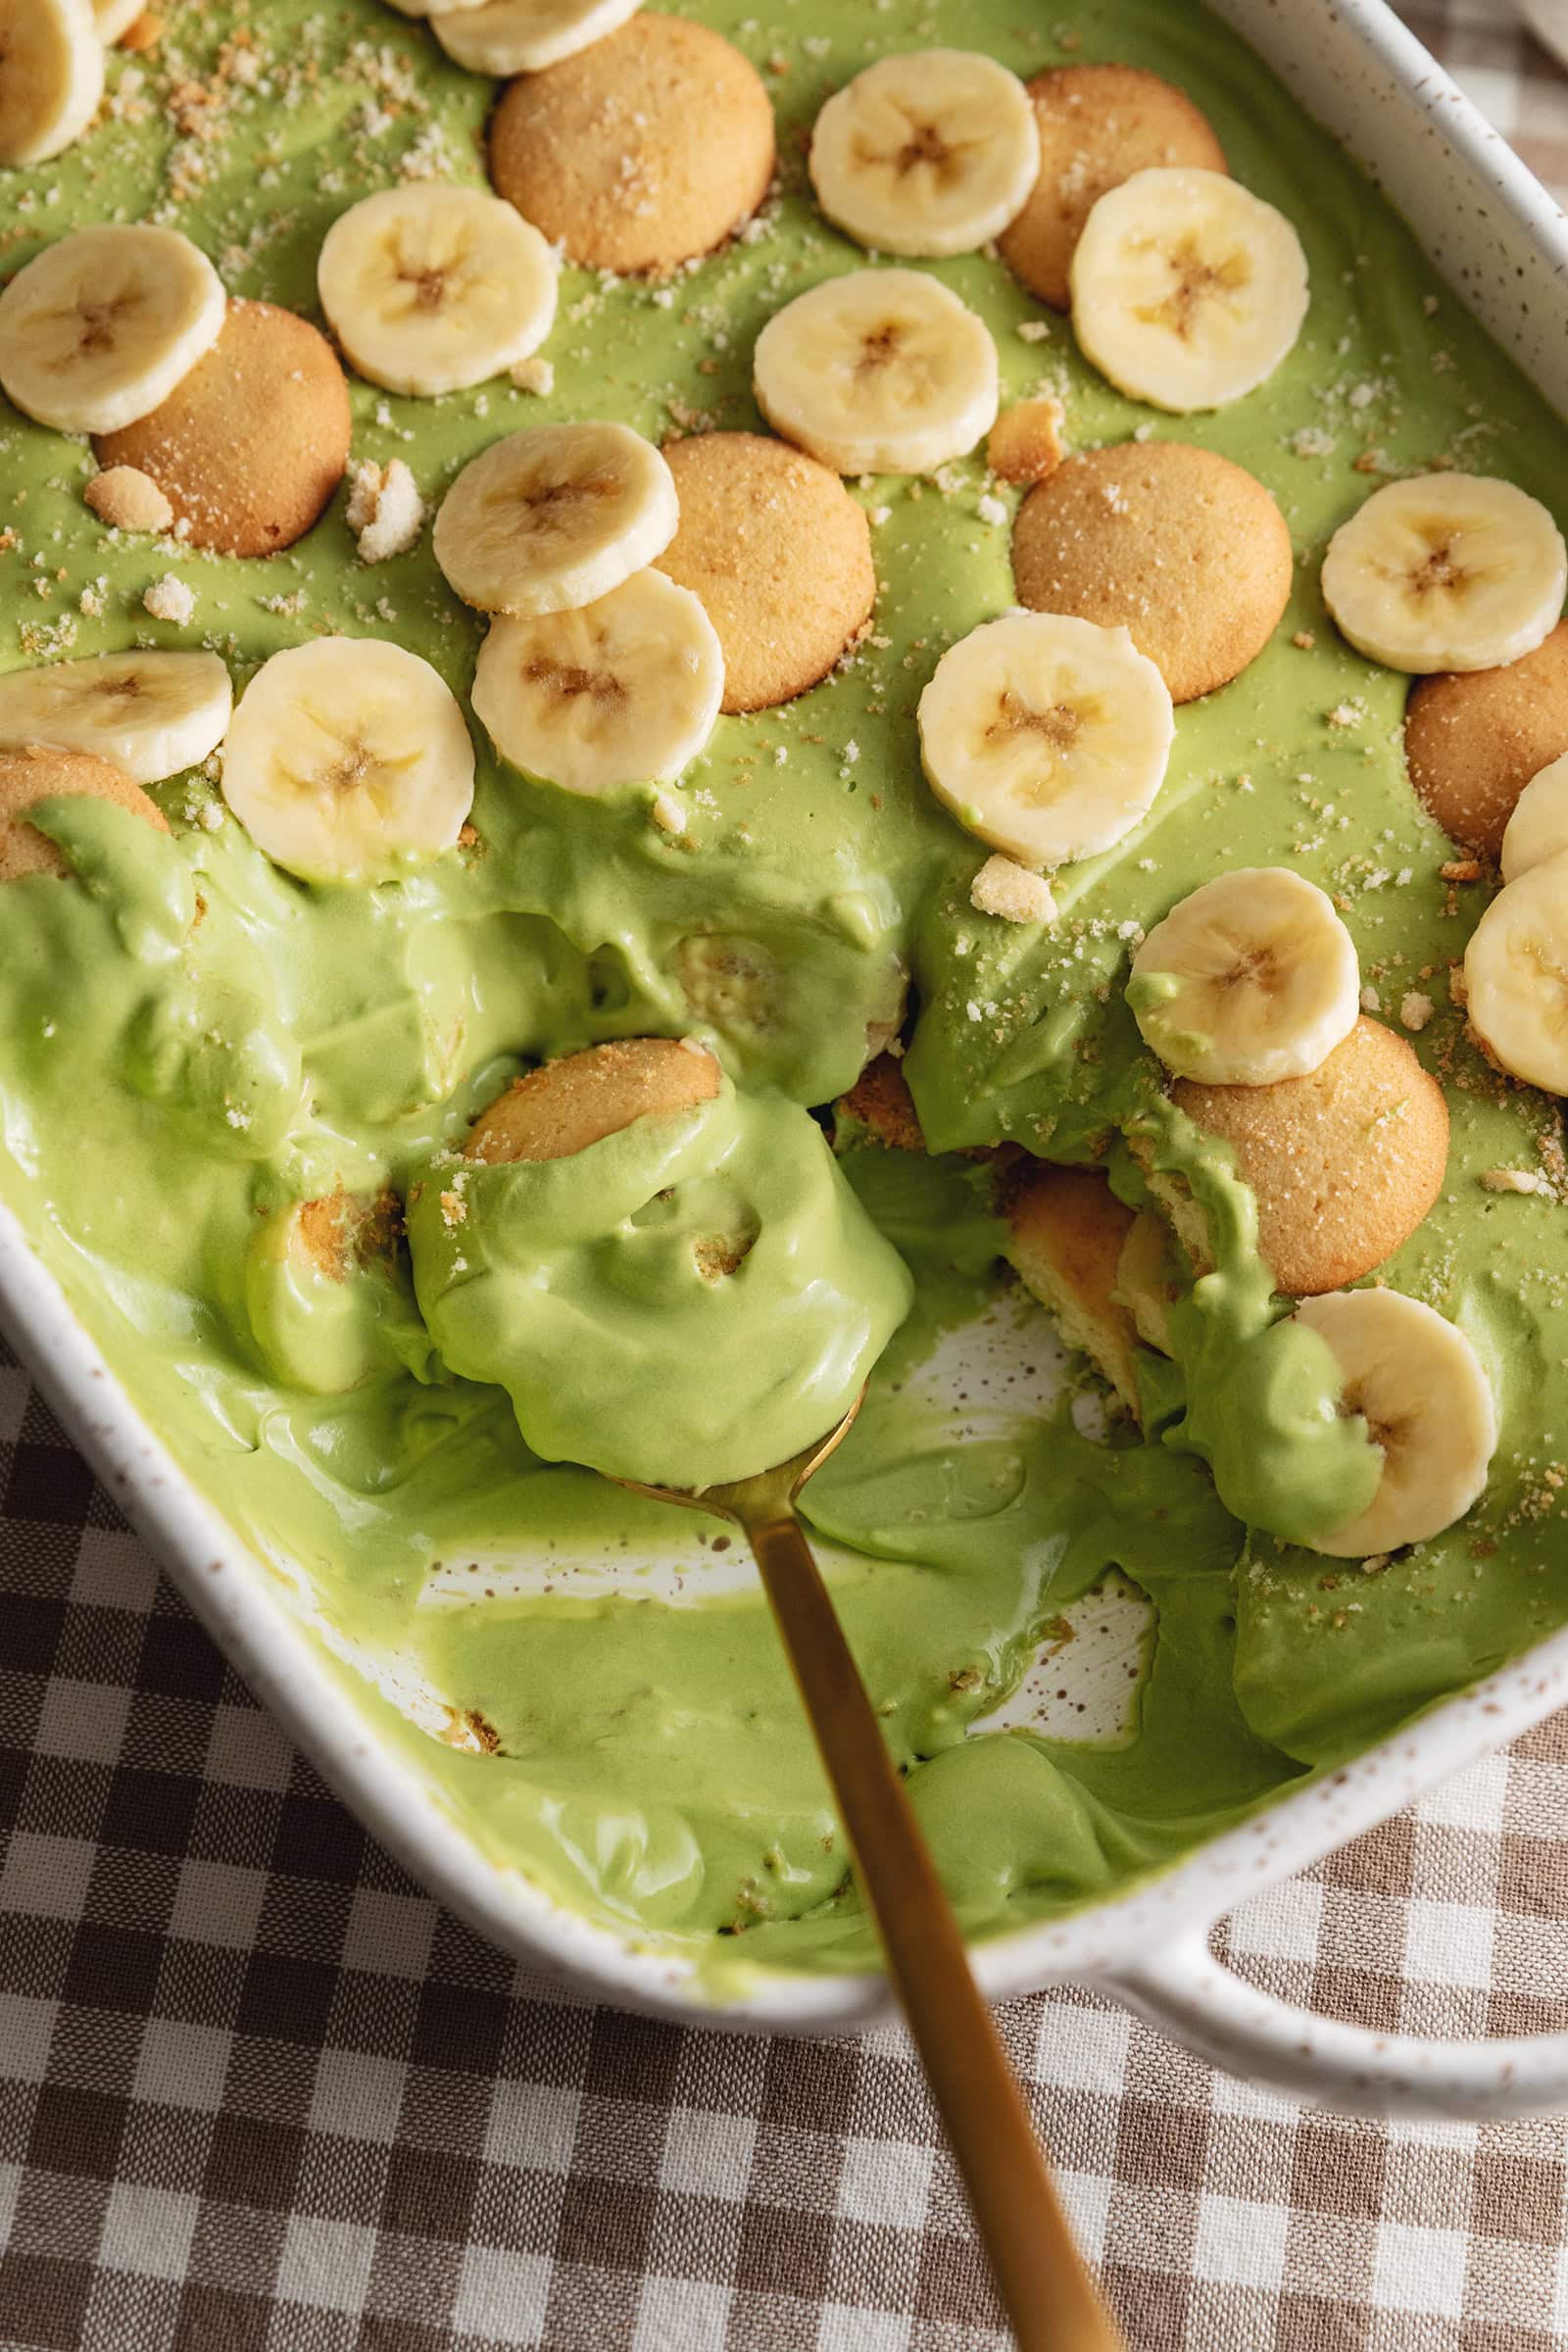
This matcha banana pudding combines your favourite matcha powder with creamy vanilla pudding, soft vanilla wafers, and banana slices all in an easy no-bake dessert.
Jump to:
Notes from the baker
To this day, my biscoff banana pudding is still one of my most popular recipes because of how easy-to-make and delicious it is. If you know me, it's no surprise that I had to make a matcha version of banana pudding for my recipe collection.
I love this matcha banana pudding for its ease and simplicity. No special tools needed and it sets right up in the fridge. Just leave it overnight and serve it whenever. It's so easy to make a big batch. And this matcha version adds something special to it that you wouldn't expect from a classic dessert.
Why you'll love this recipe
- Easy to make. You only need 7 ingredients and all you need to know how to do is mix and layer!
- No-bake dessert. This banana pudding sets in the fridge so you can just pop it in there overnight and wake up to a dessert that's ready to be enjoyed.
- Matcha green tea flavour. The matcha flavour and colour are the star of the show.
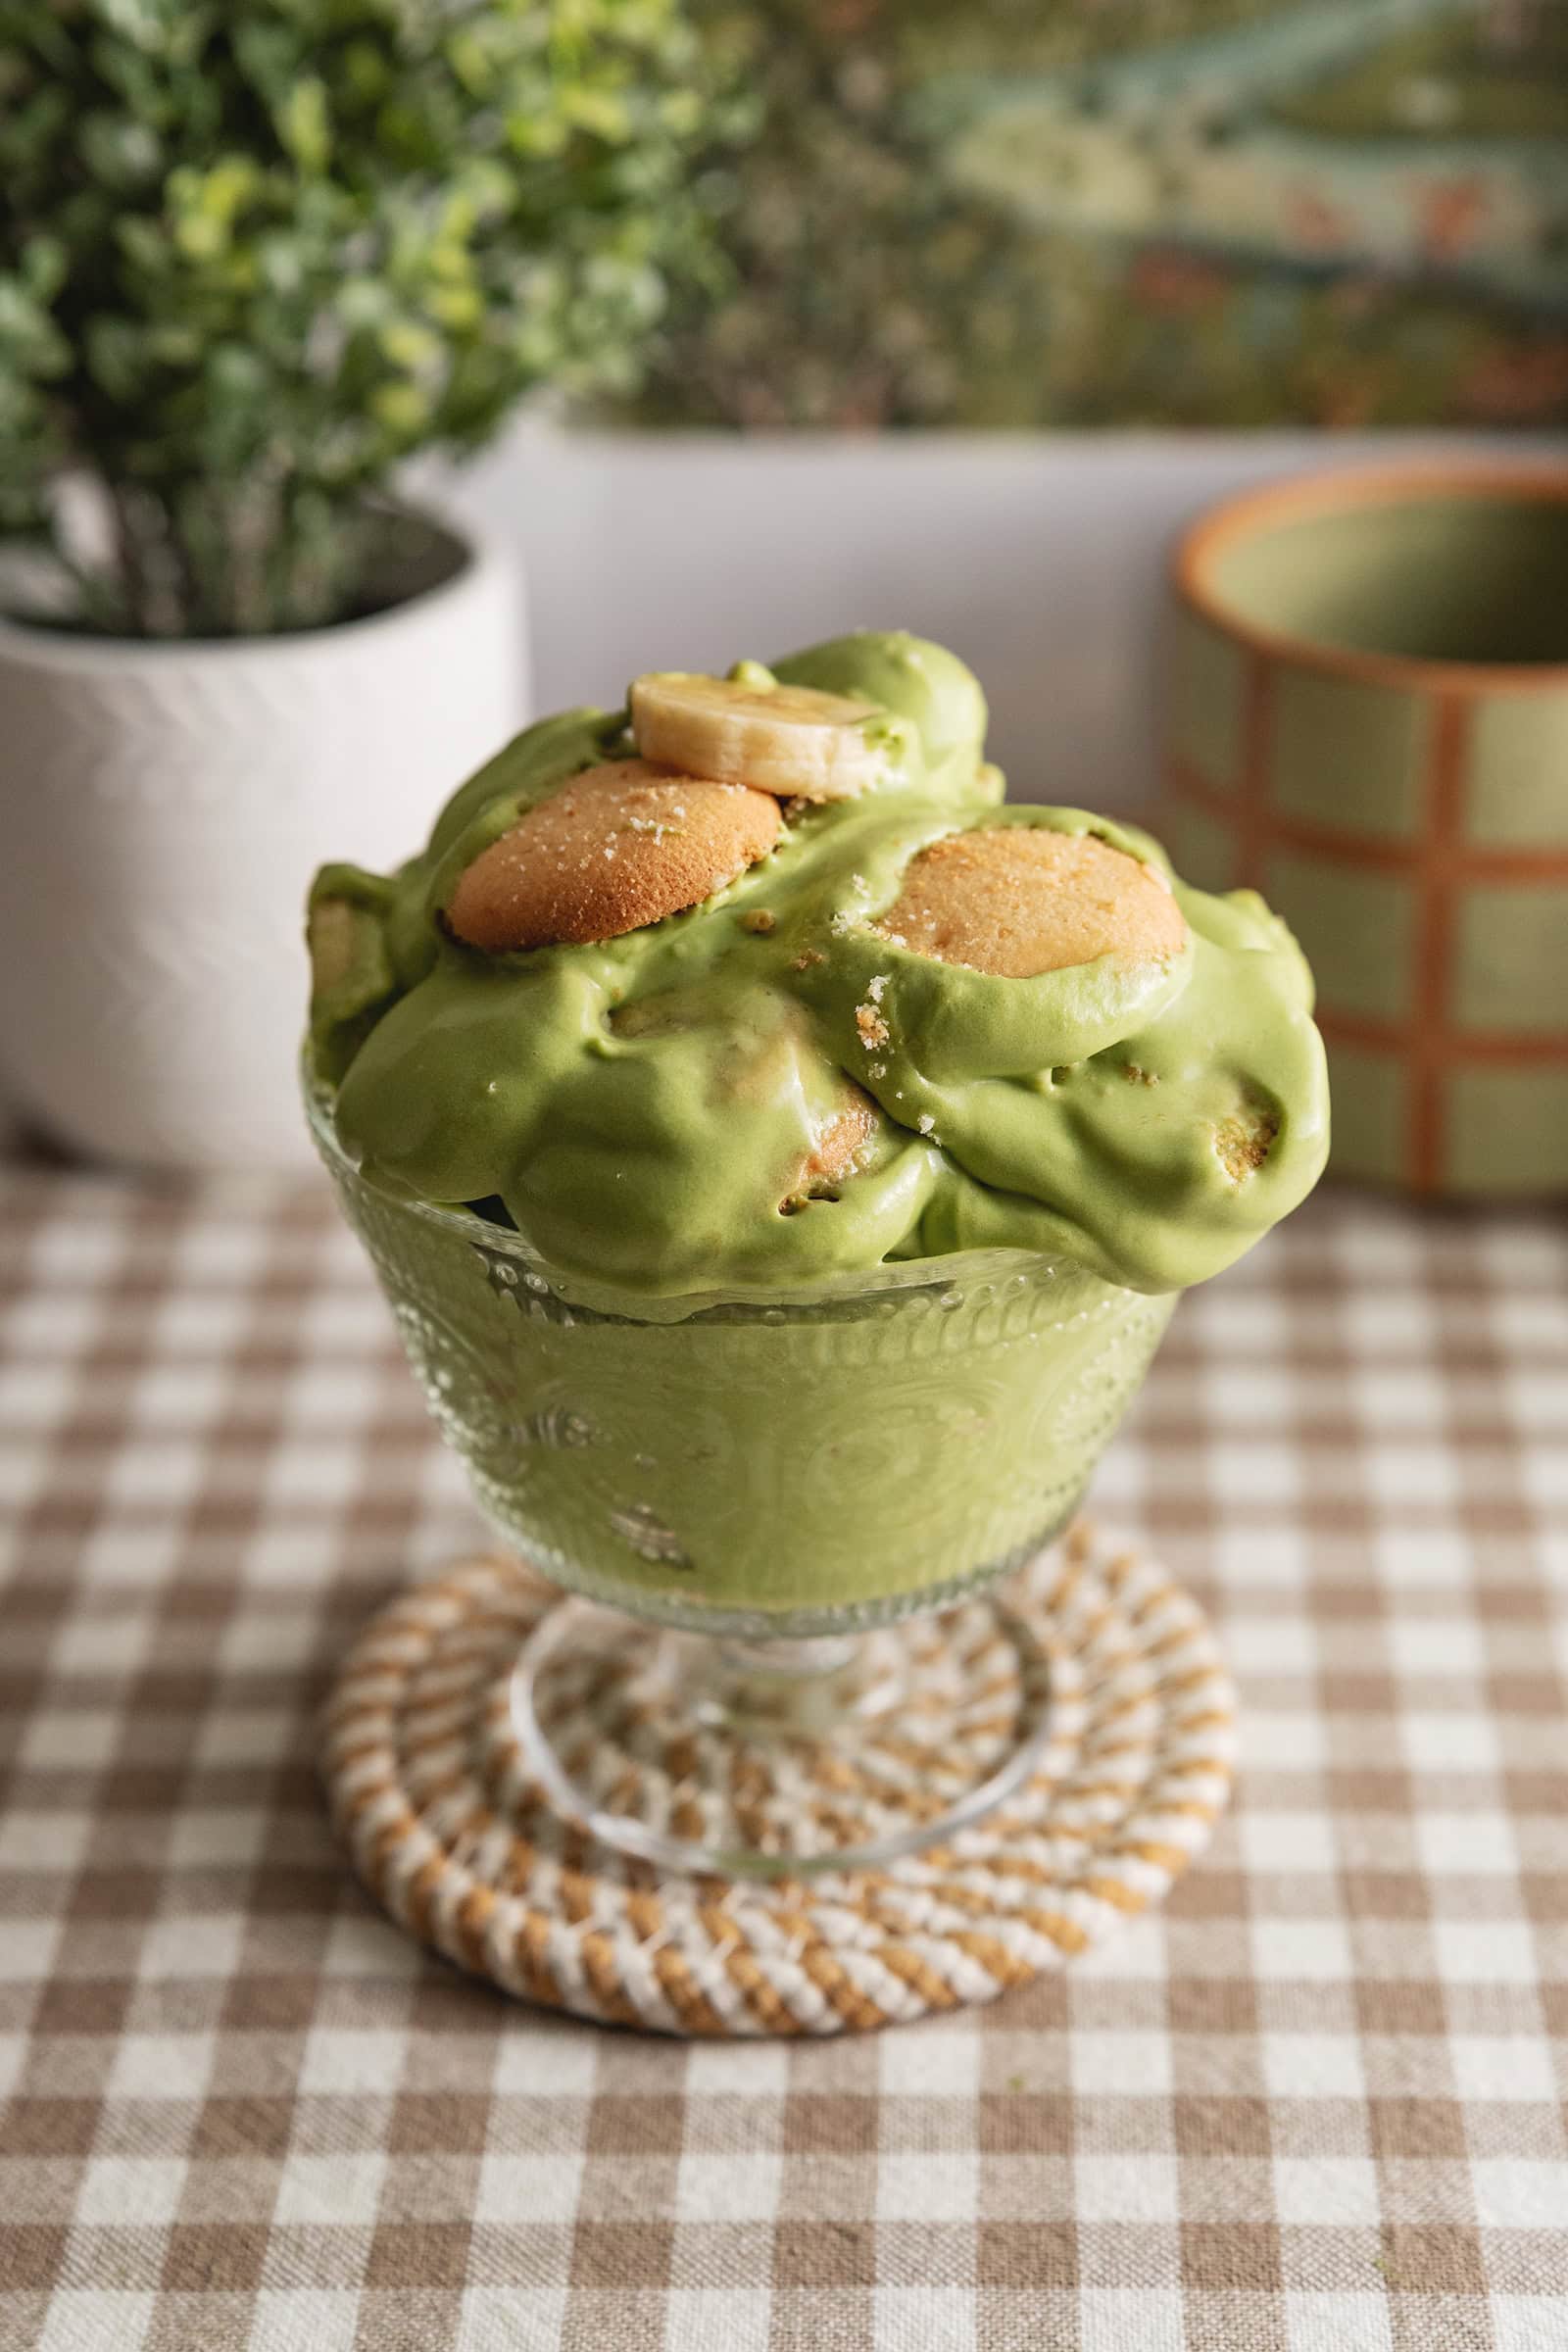
- Soft cake-like chunks. The vanilla wafers transform as the pudding sets and taste like bits of sponge cake mixed in.
Tools
- Whisk - All you need is a whisk to whip the cream.
- Serving dish - Use any serving dish or containers to serve your banana pudding. I used a large ceramic casserole baking dish. You could even use several small containers to make individual servings.
Ingredient notes
As always, the full recipe card with ingredient amounts and instructions is at the bottom of this post! Keep reading for more details on each ingredient or skip ahead to the recipe.
- Milk - You can use any dairy or non-dairy milk you prefer - it won't make too much of a difference. I usually use oat milk because I always have it on hand.
- Sweetened condensed milk - This is a thick and sweet concentrated version of milk that I love using in banana pudding and ice creams because it adds sweetness and a caramelized milky flavour that you can't achieve with regular sugar.
- Instant vanilla pudding mix - Make sure you get instant vanilla pudding mix that dissolves in water, sets in the fridge, and doesn't require any cooking. I use the Jell-O brand of vanilla pudding.
- Matcha powder - I prefer using ceremonial grade matcha powder for all my baked goods and desserts. It's pricier than culinary grade matcha powder (and you often have to use a lot, I know!) but the flavour and vibrant green colour can't be beat and I have yet to find a culinary grade matcha that compares.
- Whipping cream - You can use whipping cream for a lighter pudding or heavy cream for a richer pudding.
- Nilla wafers - You can use any brand of vanilla wafers but Nilla wafers are the ones that are typically used in classic banana pudding. They're light and airy round cookies that soften into a cake-like texture as they soak up moisture.
- Bananas - Use ripe but firm bananas. You don't want them to turn to mush in the banana pudding.
Tips for making the best matcha banana pudding
- Mix the matcha powder with the whipping cream in increments. Adding all of the whipping cream at once will cause the matcha powder to float around and stay in clumps. You want to slowly combine them and liquify the consistency until it can be properly mixed with the rest of the whipping cream.
- Add as much vanilla wafers and banana slices as you like. If you want a more substantial and firmer pudding, add more wafers. This recipe is super easy to adjust to your liking.
- Let the banana pudding set. It needs to chill for at least 4 hours or overnight to ensure it firms up. If you try scooping it before it has set, it's perfectly fine to eat but it can be a bit too soft and runny.
Storage
This matcha banana pudding can be stored in an airtight container in the fridge for up to 5 days. The bananas will brown after 1-2 days but it's still fine to eat.
If you plan on serving the banana pudding 1-2 days later, add the banana slices on top just before serving to keep them looking nice and fresh.
Frequently asked questions
Baking by weight is much more accurate than volume. When using US standard cups, ingredients like flour and sugar can easily be overpacked into the cup causing you to add too much of certain ingredients. Recipes with weight measurements are also easier to scale to smaller or bigger batches without dealing with weird fractions. To measure by weight, you simply need a kitchen scale which you can usually pick up for less than $20.
Small measurements are given in tablespoons and teaspoons because most kitchen scales are not accurate under about 10g. Tiny amounts like a ¼ teaspoon may not register accurately unless you have a drug scale. Mixing these measurements is a common practice among other recipe sites and commercial kitchens.
More banana pudding recipes to try
Recipe
Matcha Banana Pudding
Equipment
- 1 whisk
- 1 serving dish
Ingredients
- 350 g milk, cold
- 375 g sweetened condensed milk, (1 300mL can)
- 100 g instant vanilla pudding mix, (1 package)
- 2 tablespoons matcha powder
- 470 g whipping cream, cold
- 200 g Nilla wafers, reserve a handful for topping
- 4 medium ripe bananas, sliced into coins, reserve about ½ a banana for topping
Instructions
- Set the pudding: In a medium mixing bowl, add the milk, sweetened condensed milk, and vanilla pudding mix. Whisk until thoroughly combined without lumps. Cover and chill in the fridge for about 1 hours or until it thickens into a pudding consistency.
- Whip the matcha cream: In a large mixing bowl, sift in the matcha powder. Add a small amount of whipping cream and whisk until it becomes a smooth paste. Add the rest of the whipping cream and whisk until it becomes firm peaks.
- Combine: Add the chilled pudding to the matcha whipped cream. Use a spatula to fold together until no streaks remain.
- Layer everything: To a serving dish or container (I used a casserole baking dish), add half of the pudding mixture and spread it into an even layer with a spatula. Scatter an even layer of Nilla wafers across the top of the pudding layer, reserving a handful for the topping later. Add a layer of sliced bananas on top of the wafer layer, reserving about half a banana for the topping later.
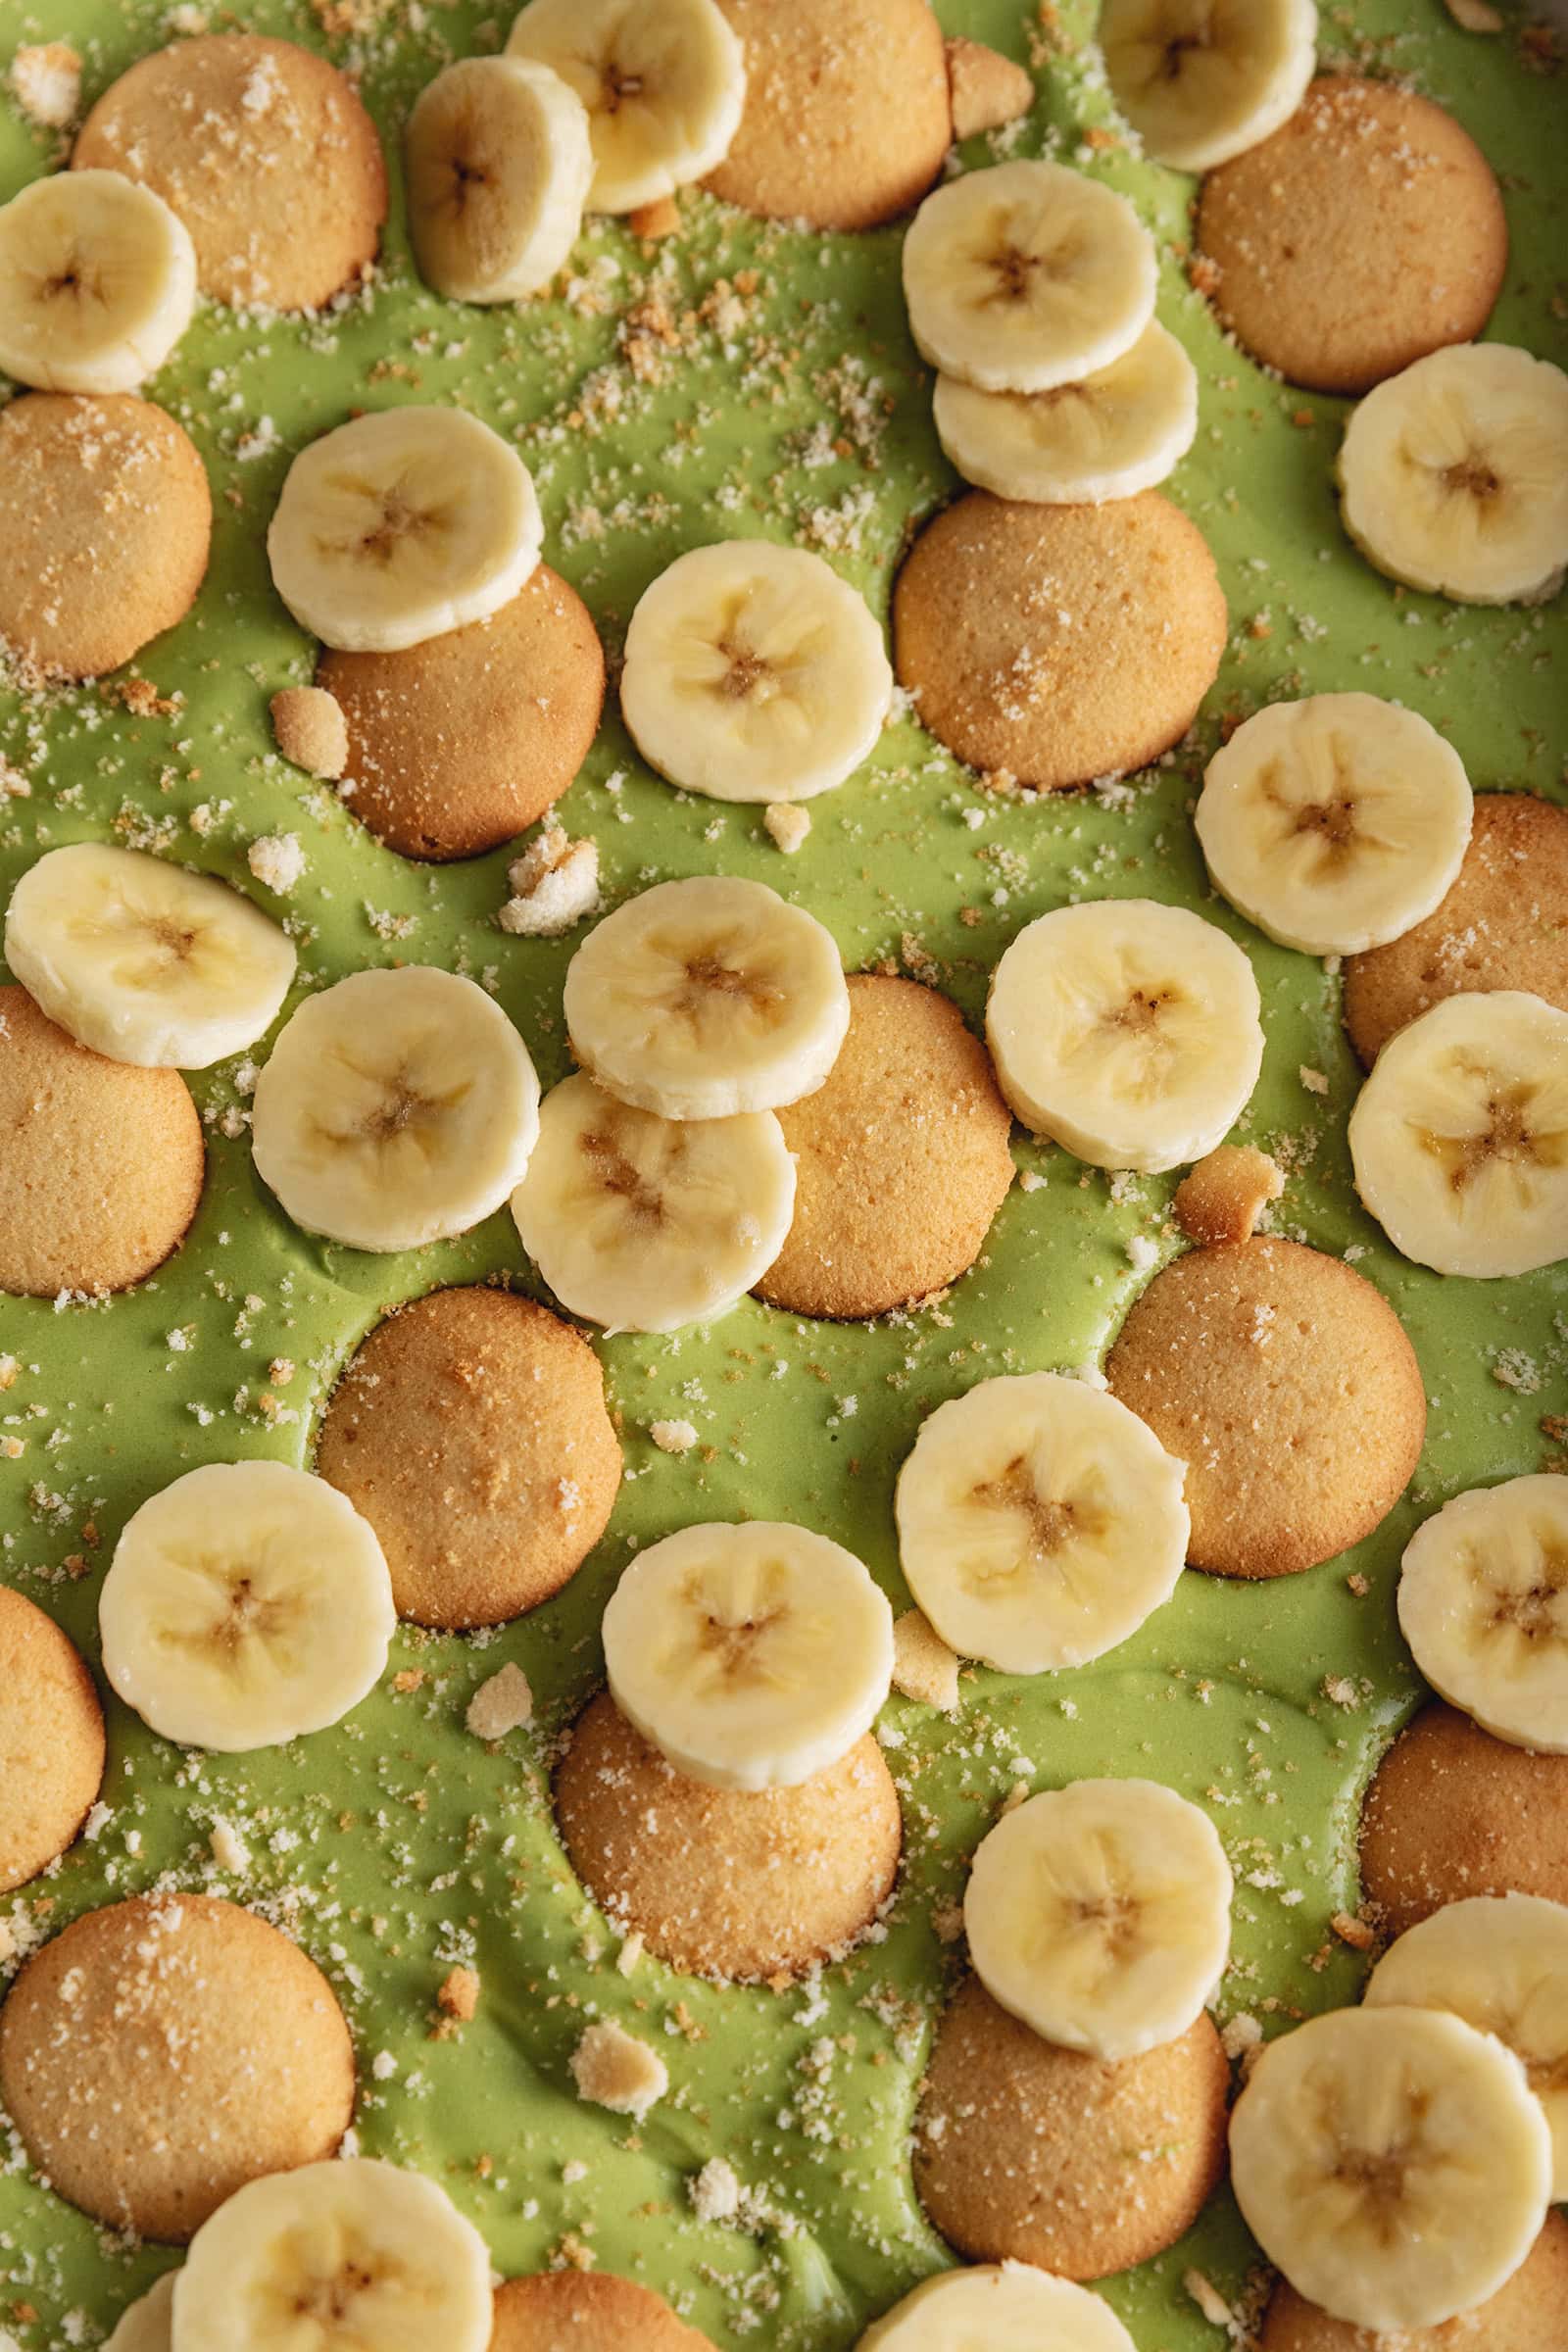
- Add toppings: Add the rest of the pudding mixture and spread it into an even layer with a spatula. Arrange extra Nilla wafers, banana slices, and any wafer crumbs on top of the pudding.
- Chill: Cover and chill in the fridge for at least 4 hours or overnight to let it firm up before serving.


Leave a comment or review